How to Add Facebook Pixel to Shopify
If you want to run profitable Facebook ads on your Shopify store, you need to have the Facebook Pixel properly installed on your store.
The Facebook Pixel can be tricky to setup on your store. If you do it wrong, you end up with duplicate event tracking, missing parameters, and pixels being blocked due to user privacy settings.
Fortunately we're here to help make it super simple for you!
Setup Instructions
- Sign into Shopify
- Go to the Shopify App Store
- Install Facebook Pixel, Conversion API
- Connect Facebook profile
- Choose ad account & pixel
- Setup Enhanced Tracking for improved tracking performance (optional)
Step One: Sign into Shopify
The first step is really simple. You just sign into your Shopify admin if you aren't already.
Skip this step if you're already signed in!
You can login to Shopify from this page: https://shopify.com/login
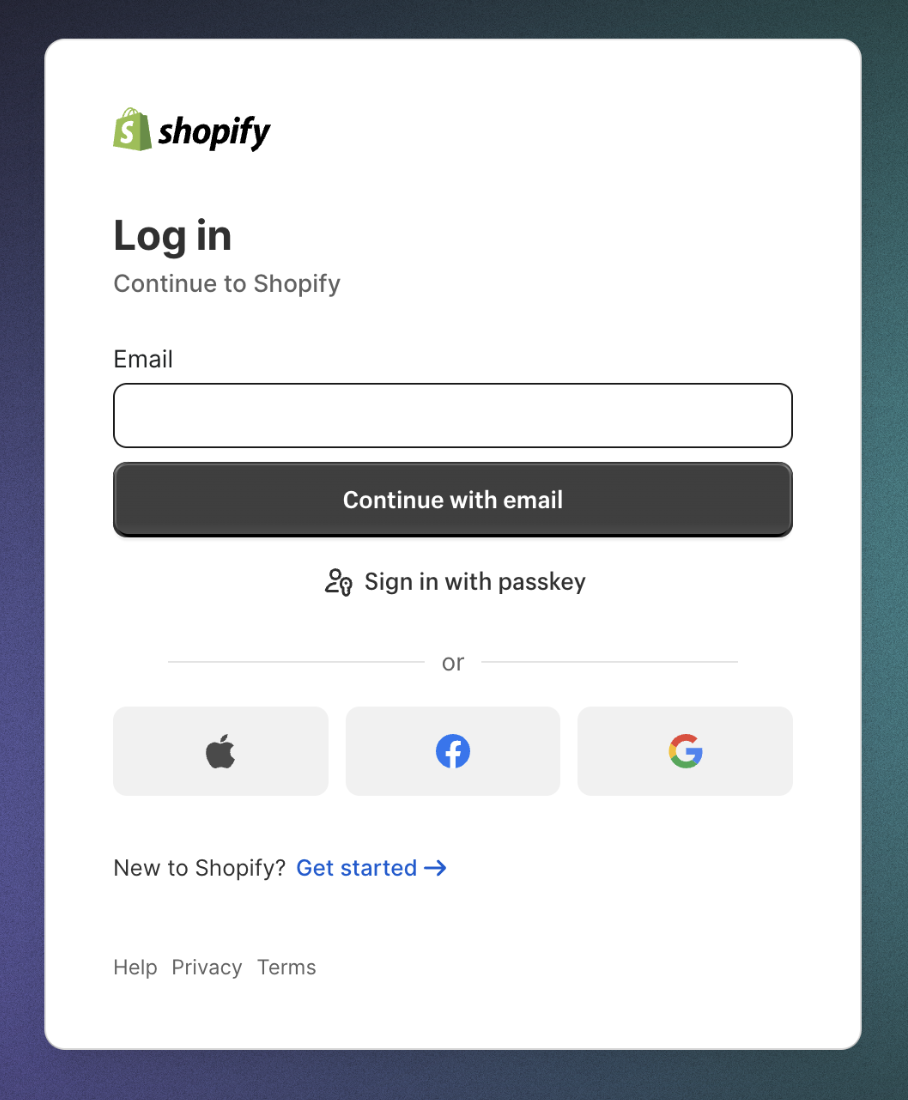
From here, just enter your login email/password, or sign in with one of the login options such as Apple, Facebook or Google.
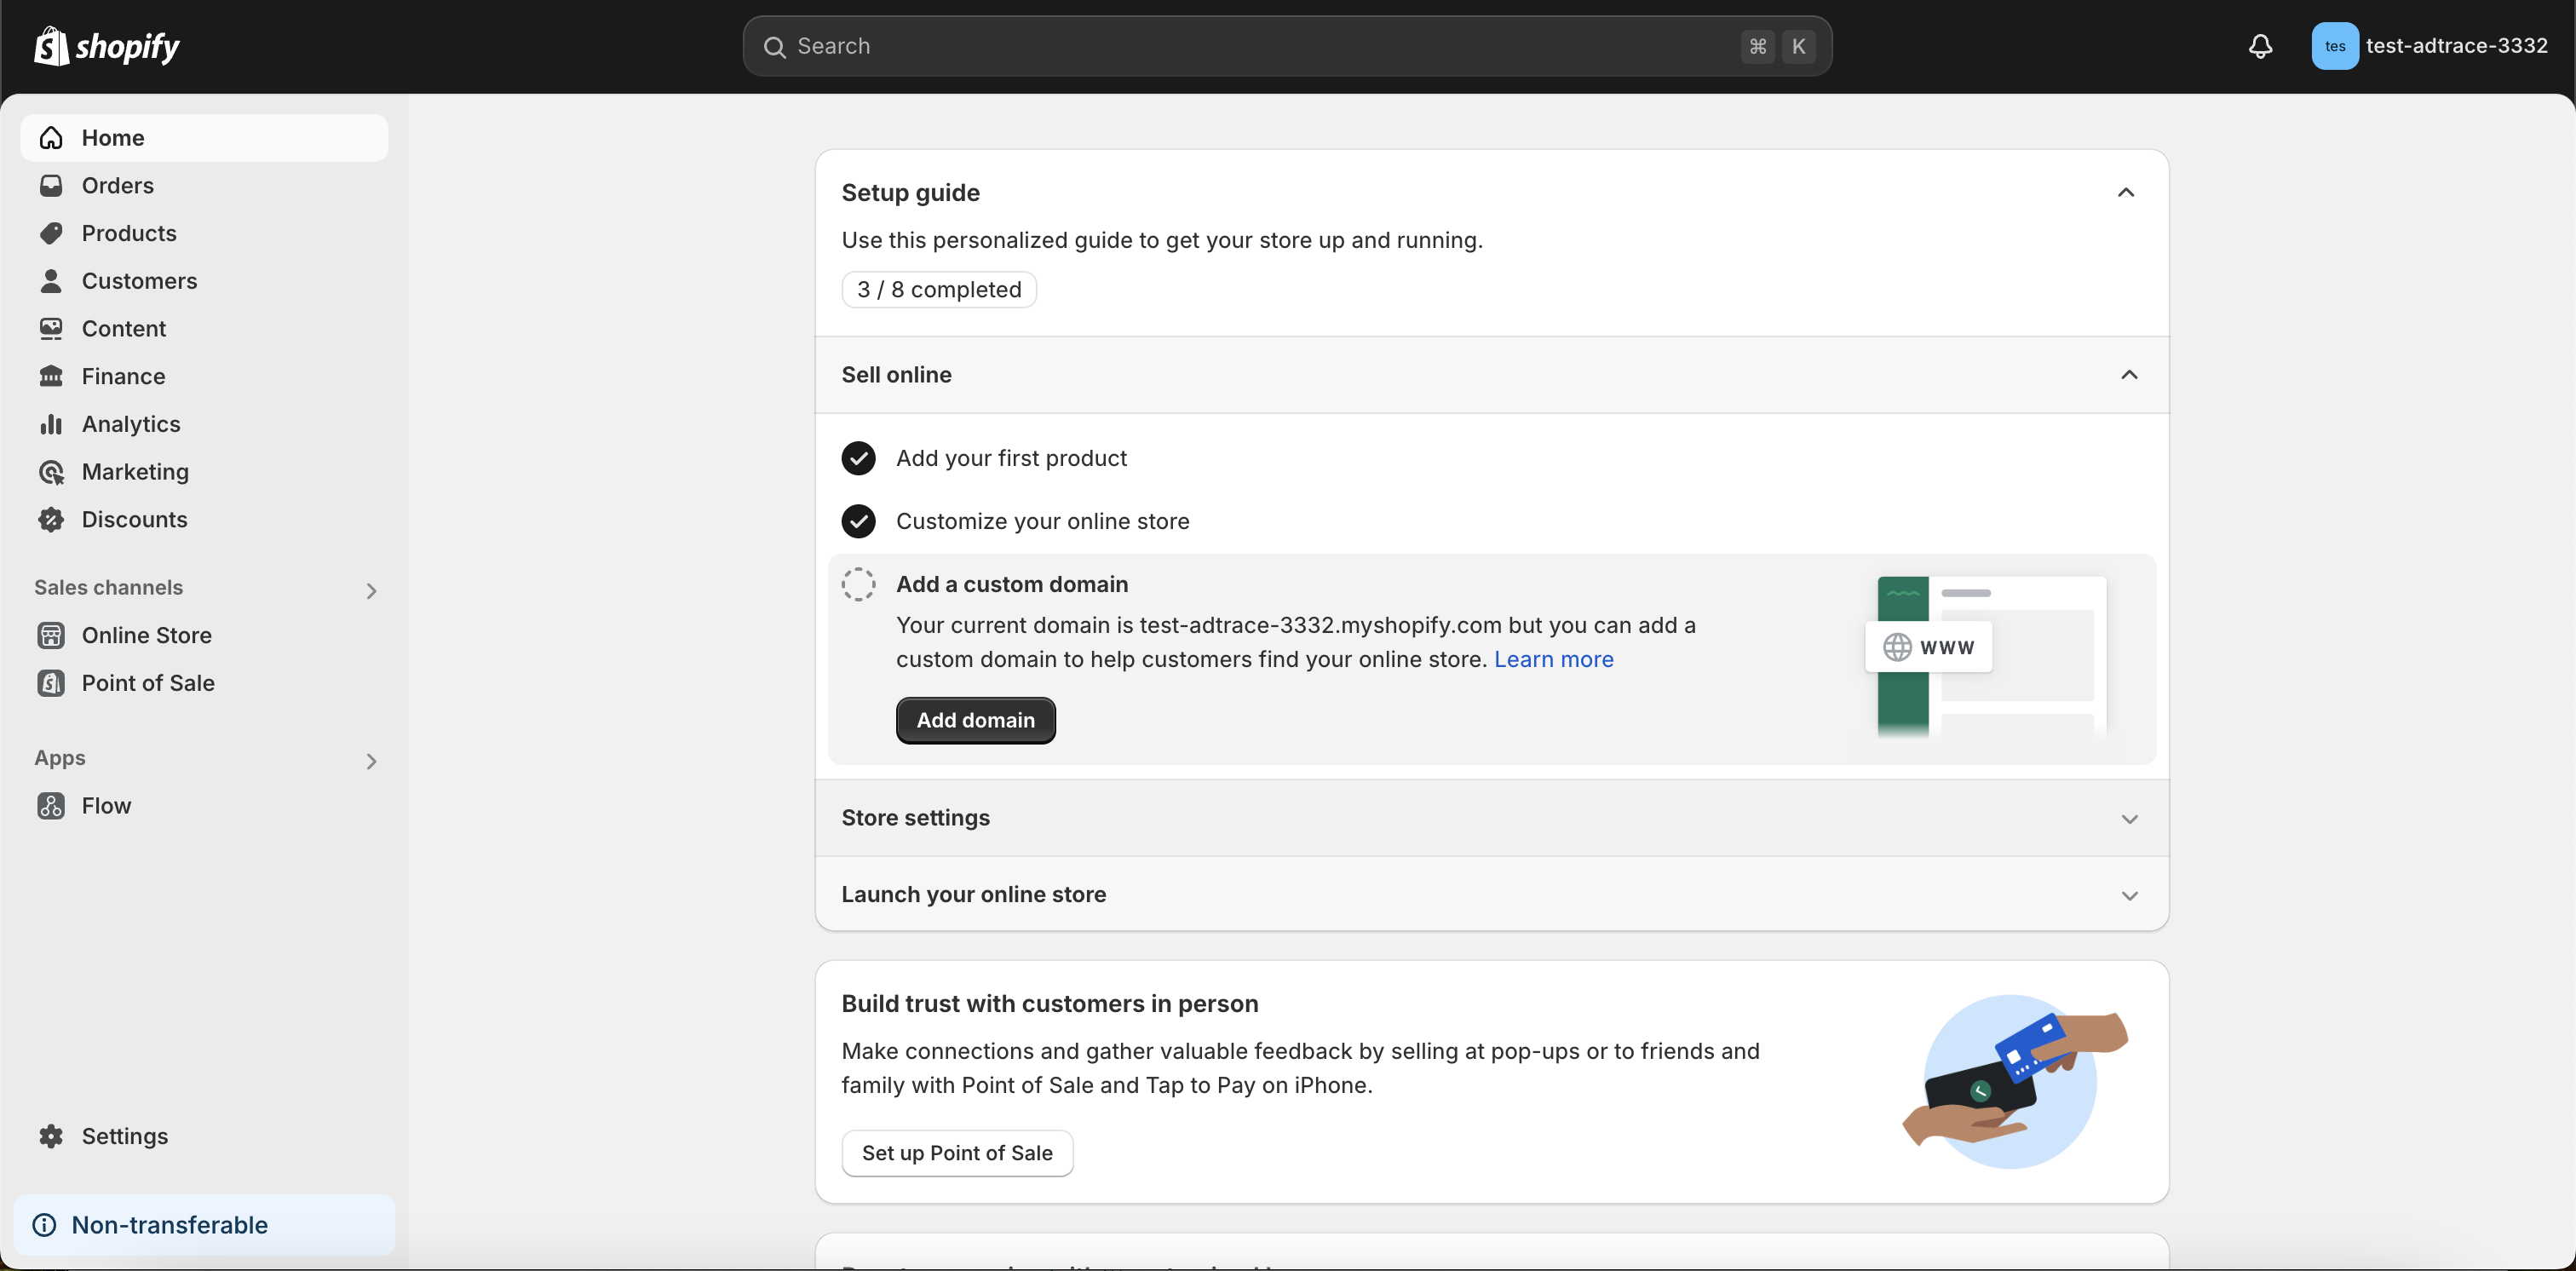
Once you're logged in, you should see your normal Shopify admin:
Step Two: Go to the Shopify App Store
Once logged into your Shopify admin, you can go ahead and open up the Shopify App Store.
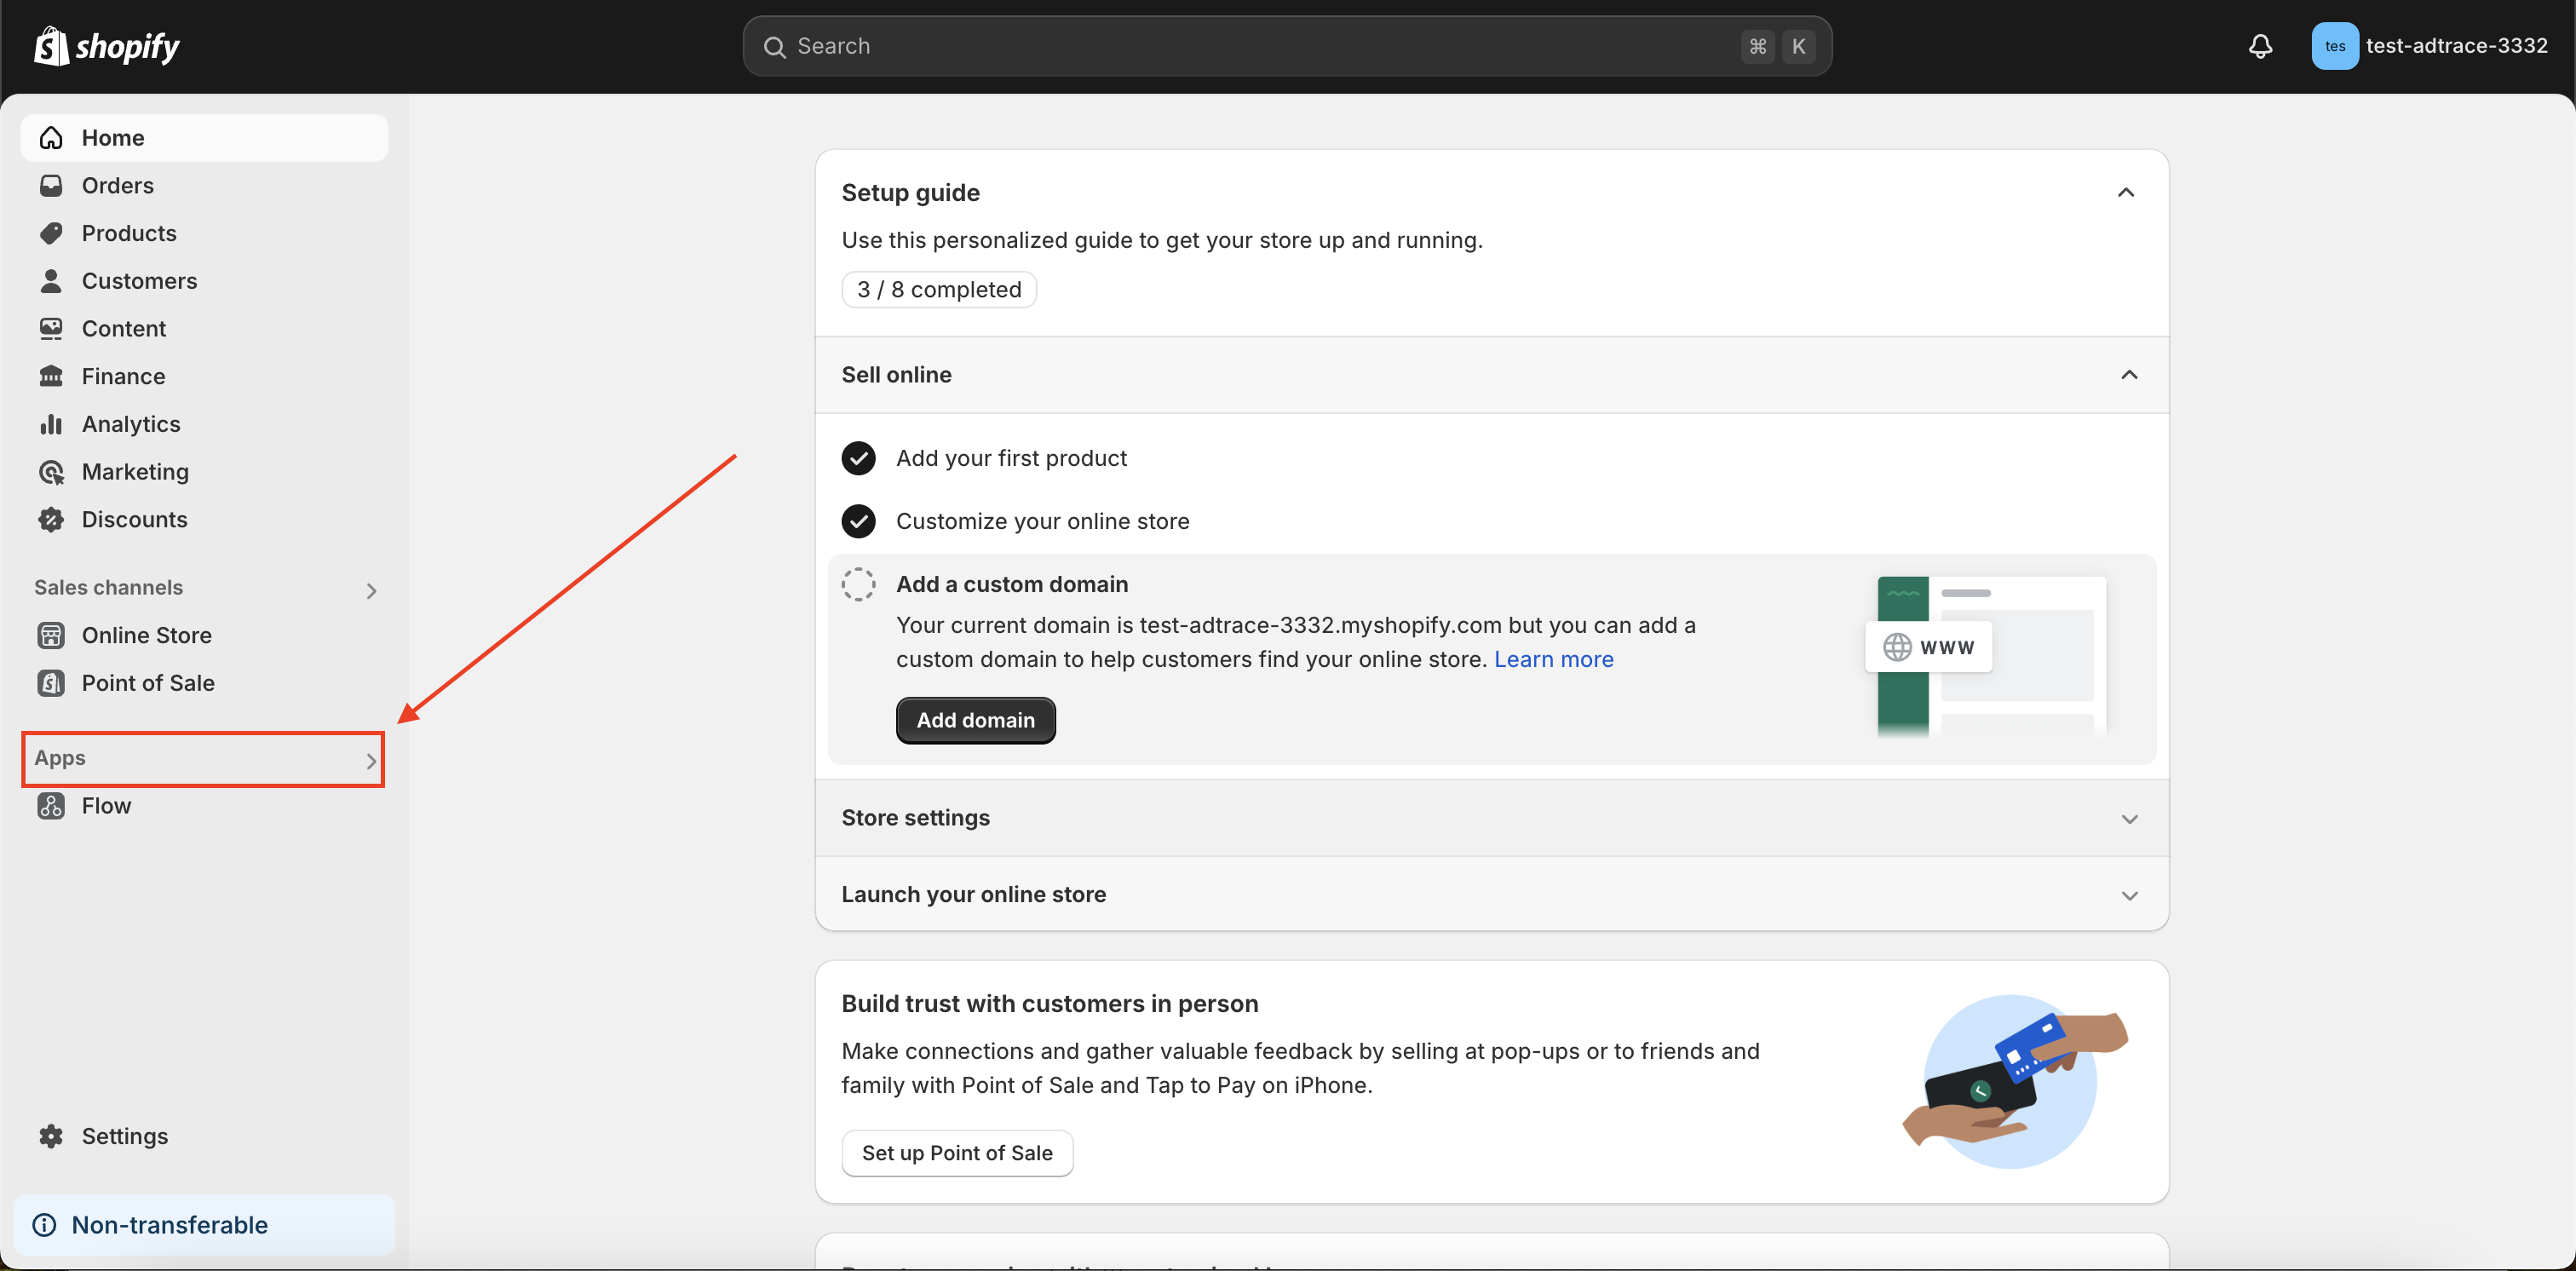
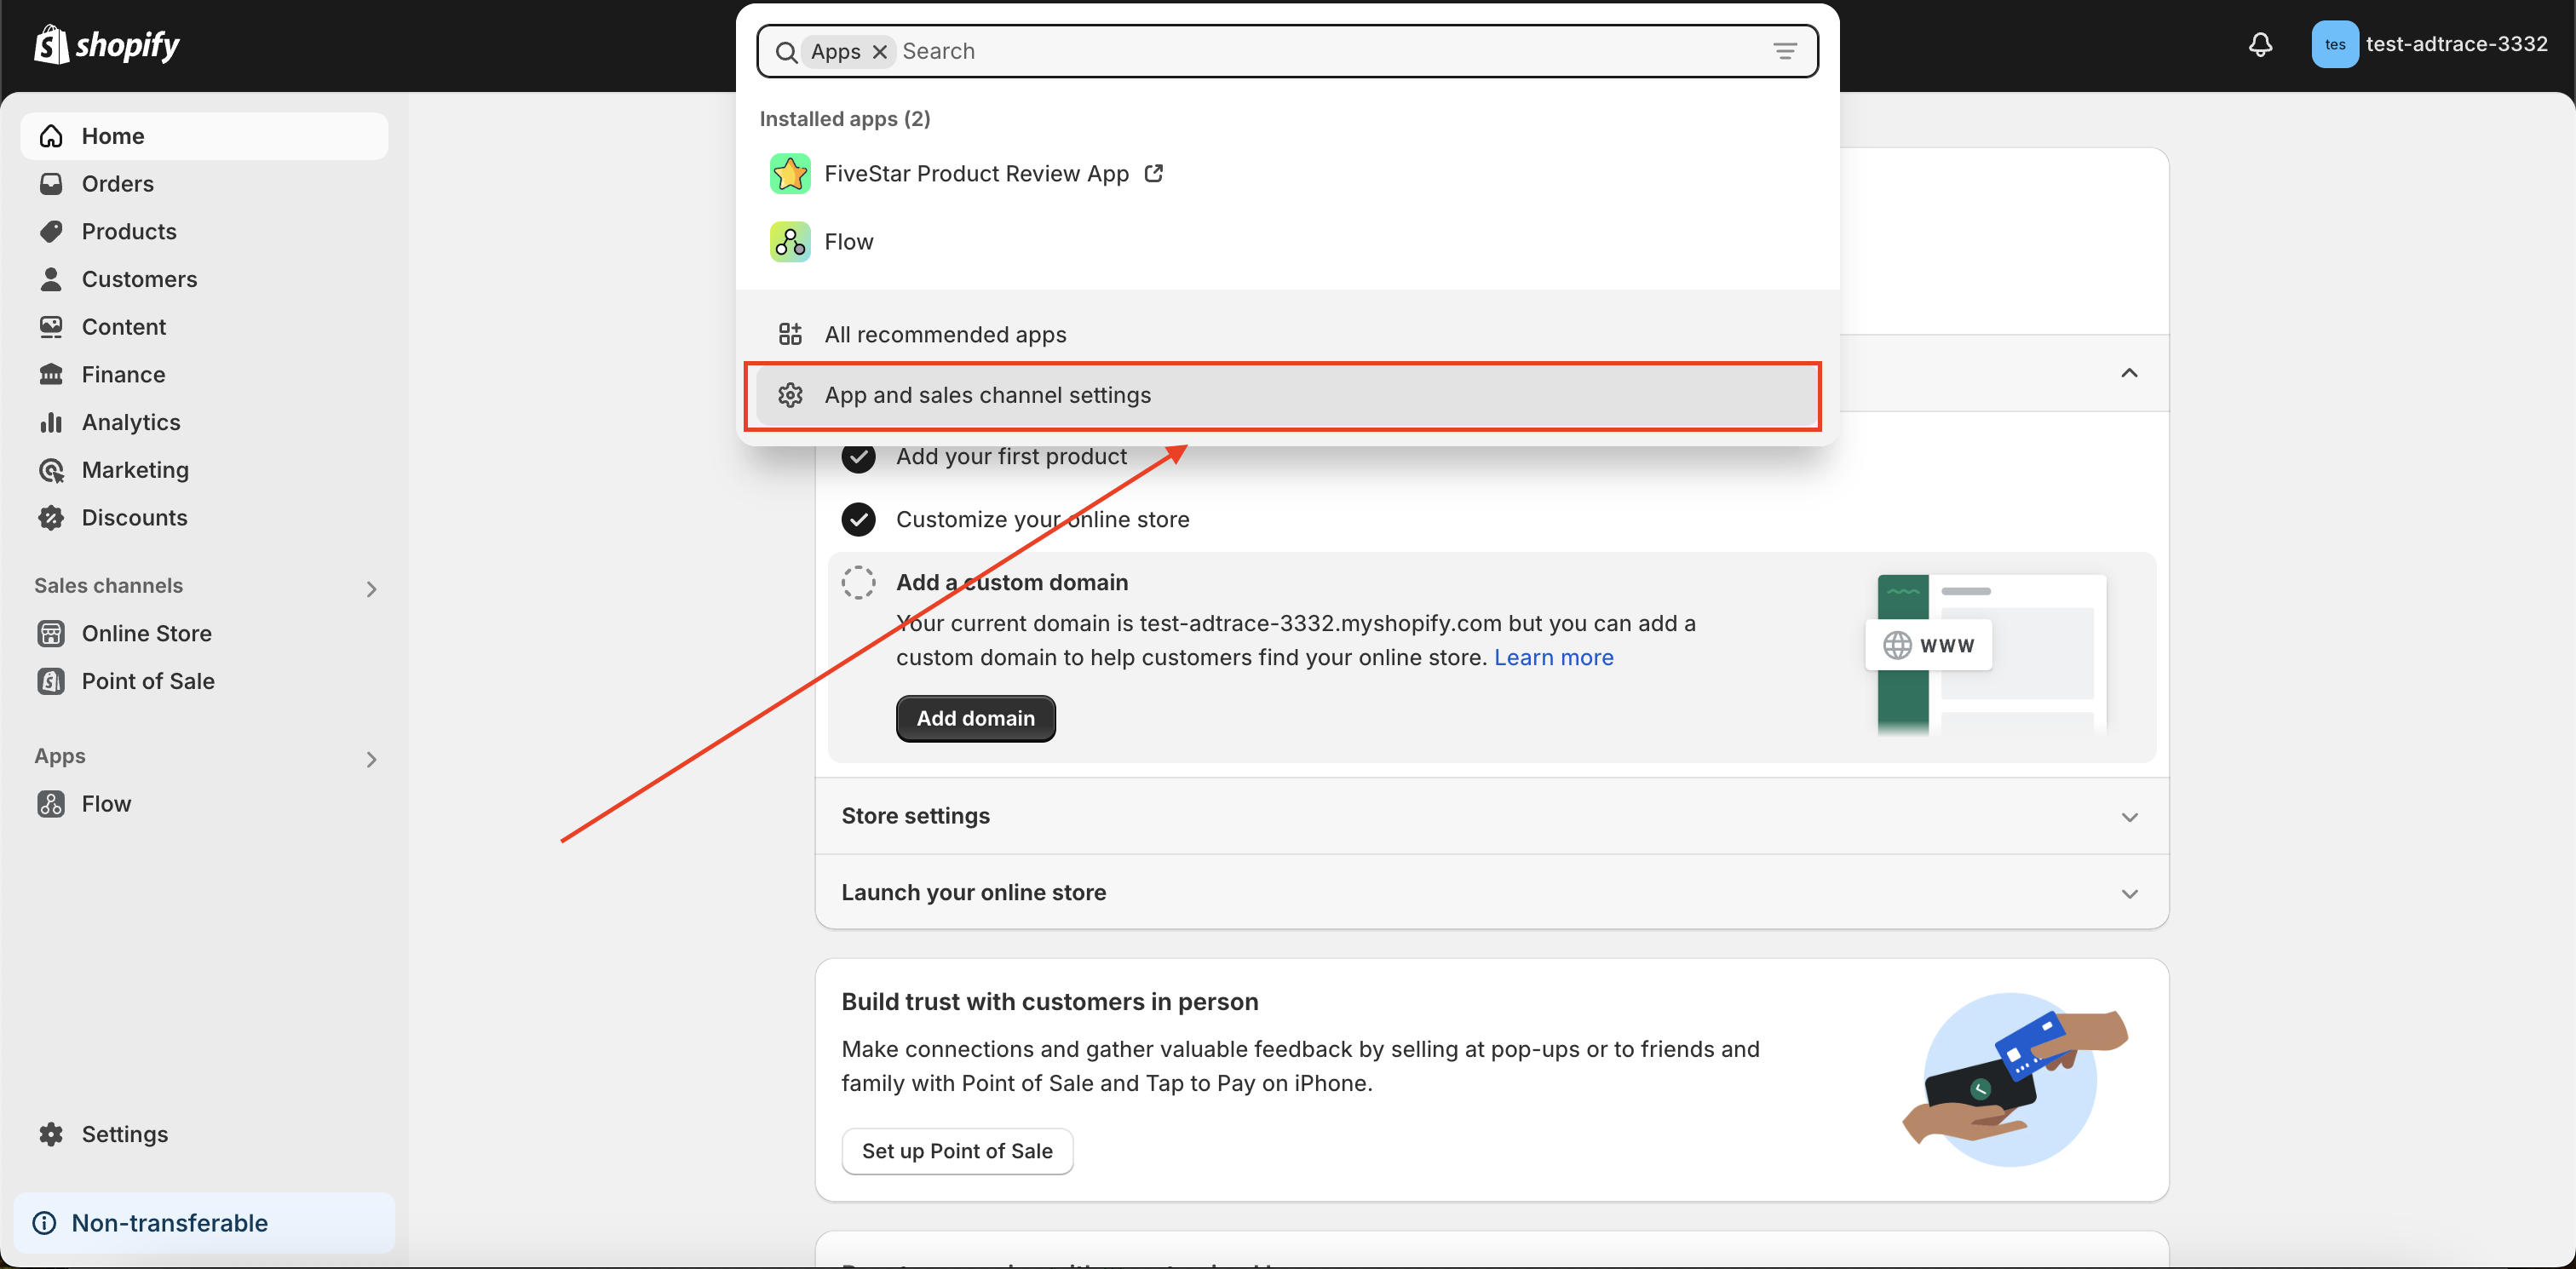
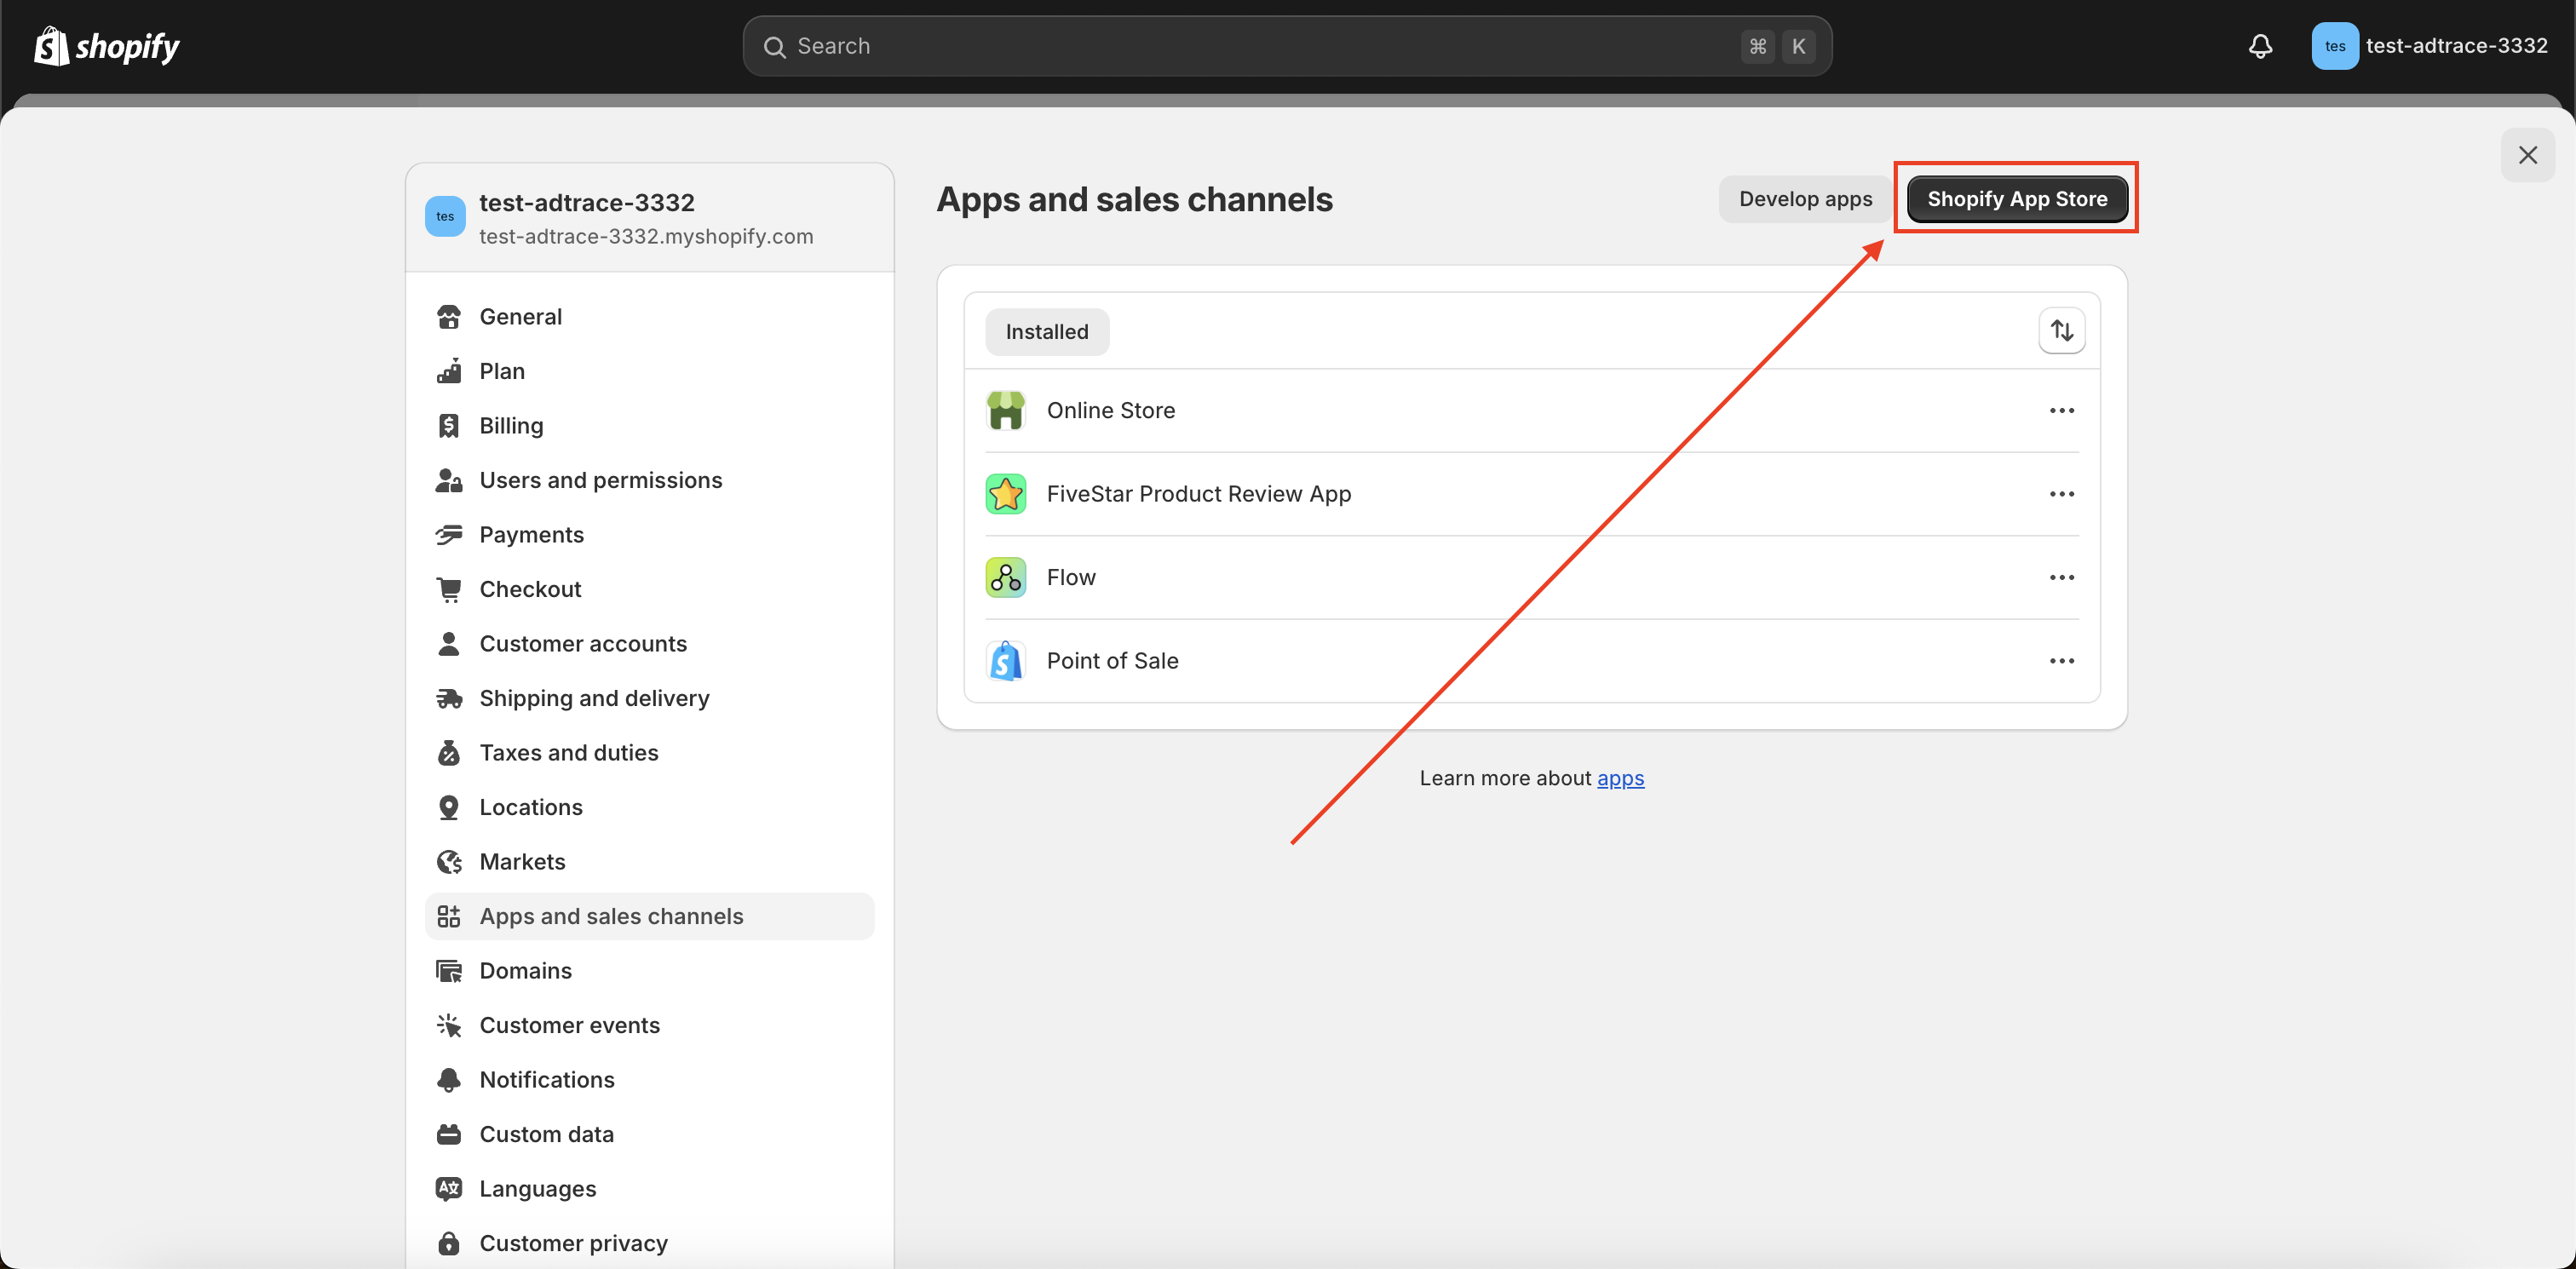
The App Store can be opened by pressing "Apps" on the left side menu, then pressing the "Apps and Sales Channels" menu option, then finally pressing the "Shopify App Store" button.
Press "Apps" on side menu
Press the "Apps and Sales Channels" menu item
Press the "Shopify App Store" button
Step Three: Install Facebook Pixel, Conversion API App
You can go to the Shopify App Store link directly from here, or follow these quick steps:
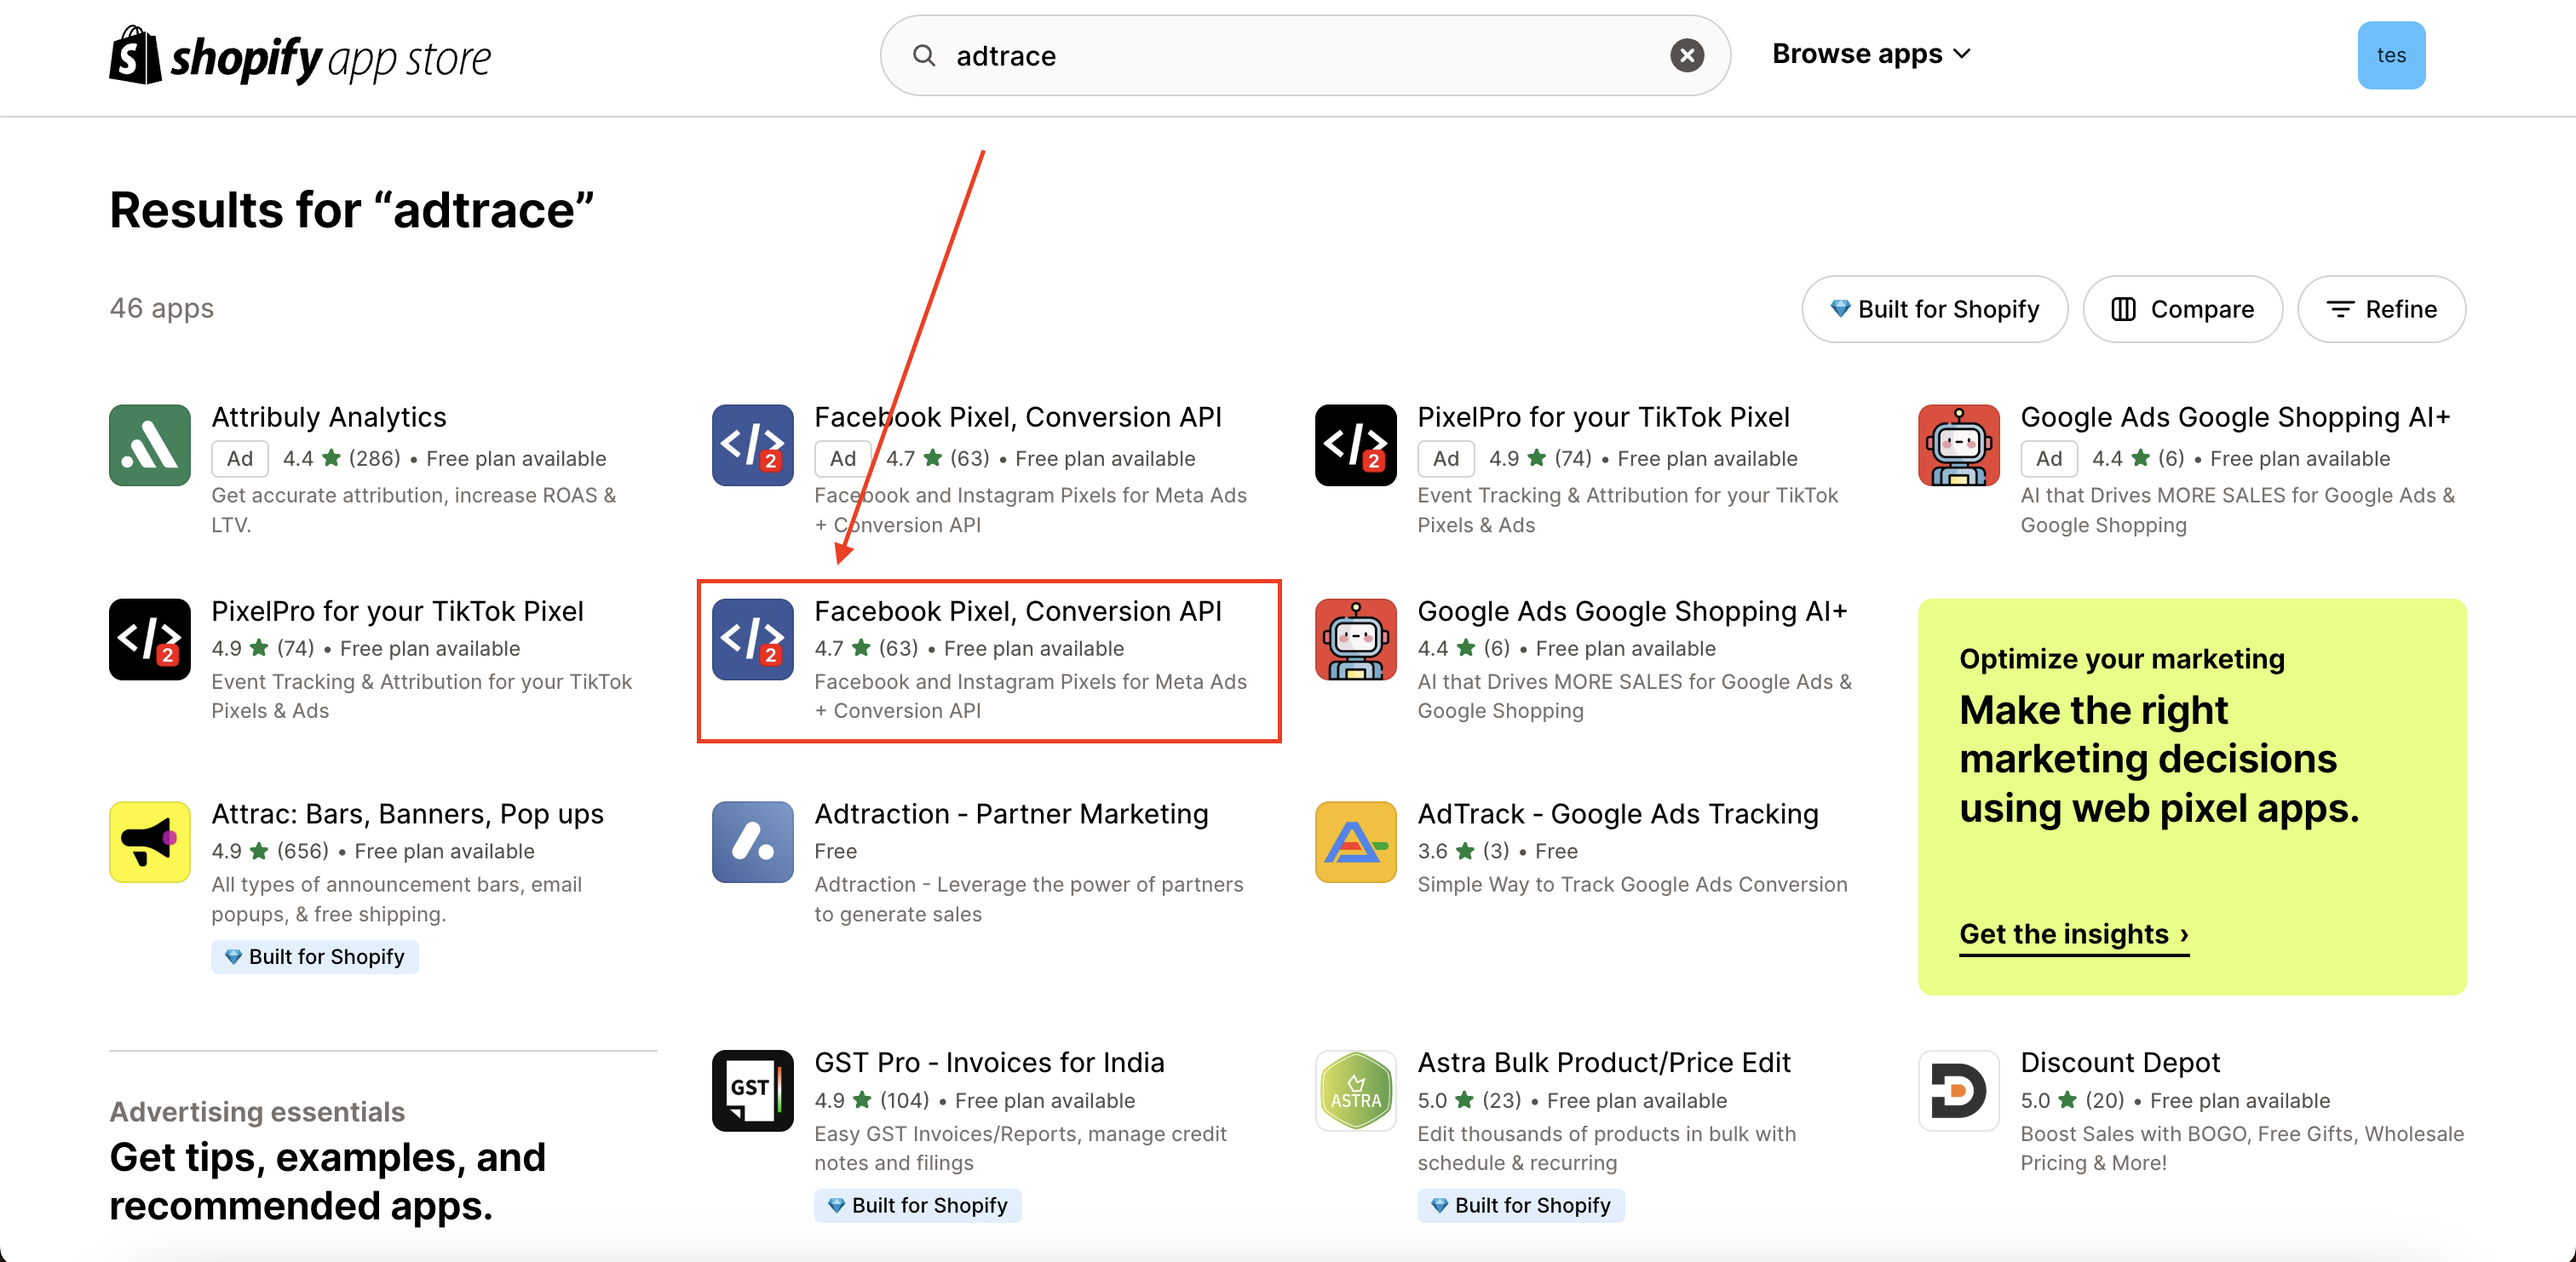
Search "AdTrace" in the Shopify App Store, and select the "Facebook Pixel, Conversion API" app.
Click Install on the app listing page:
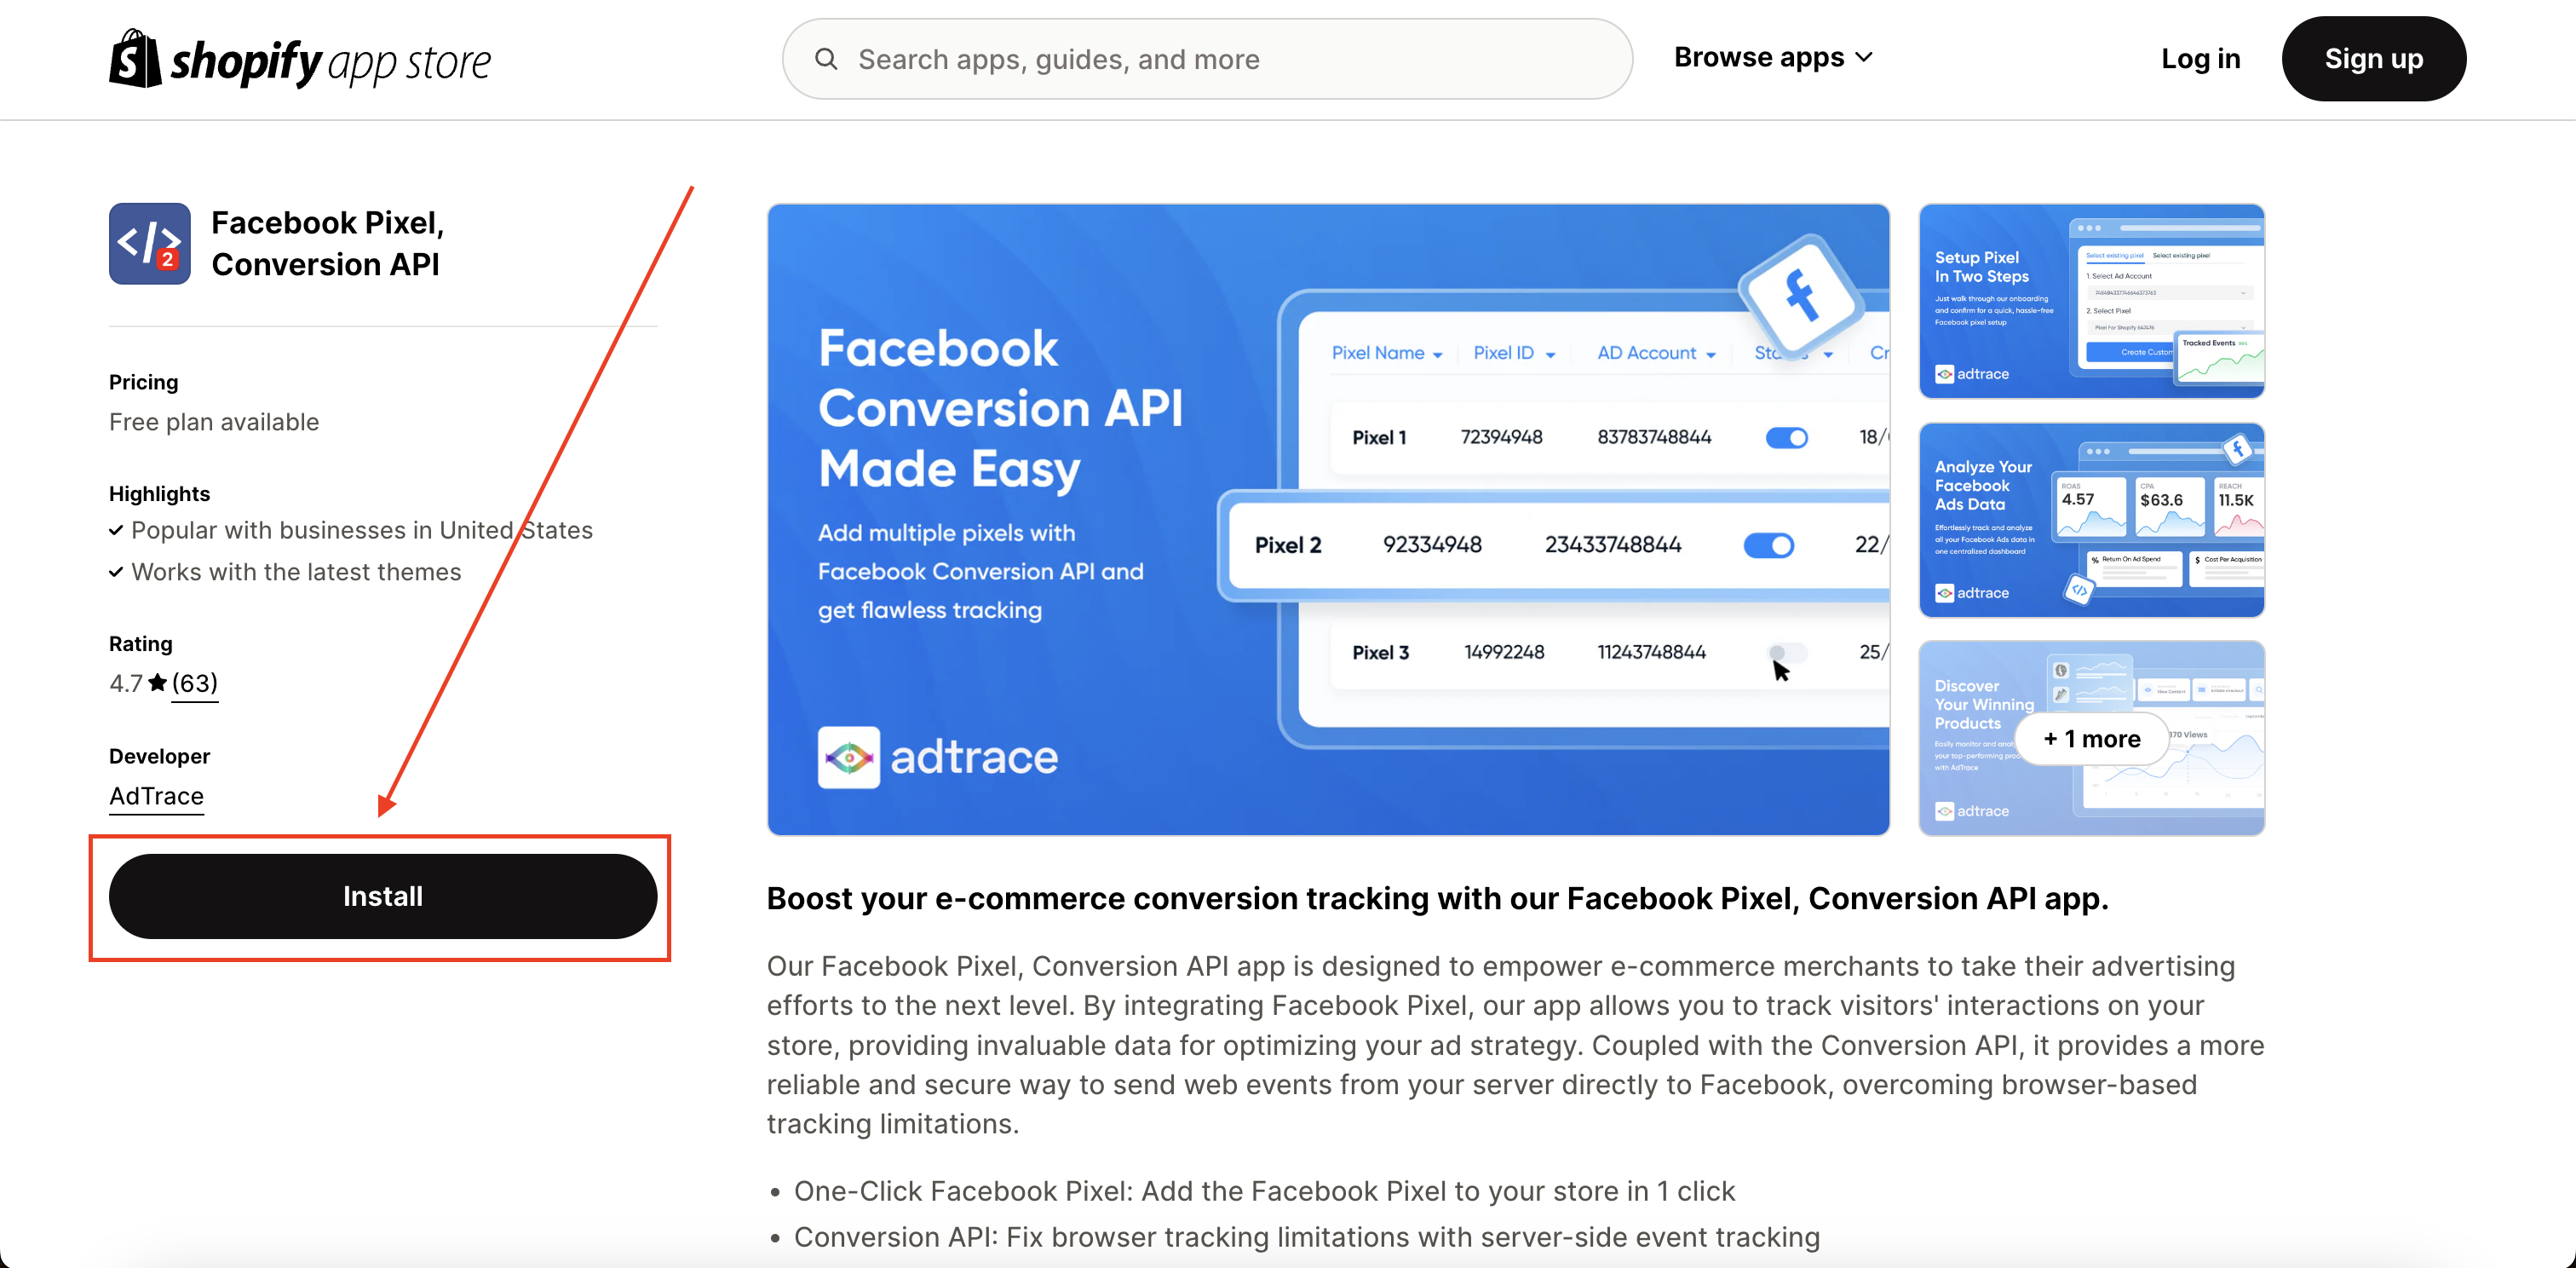
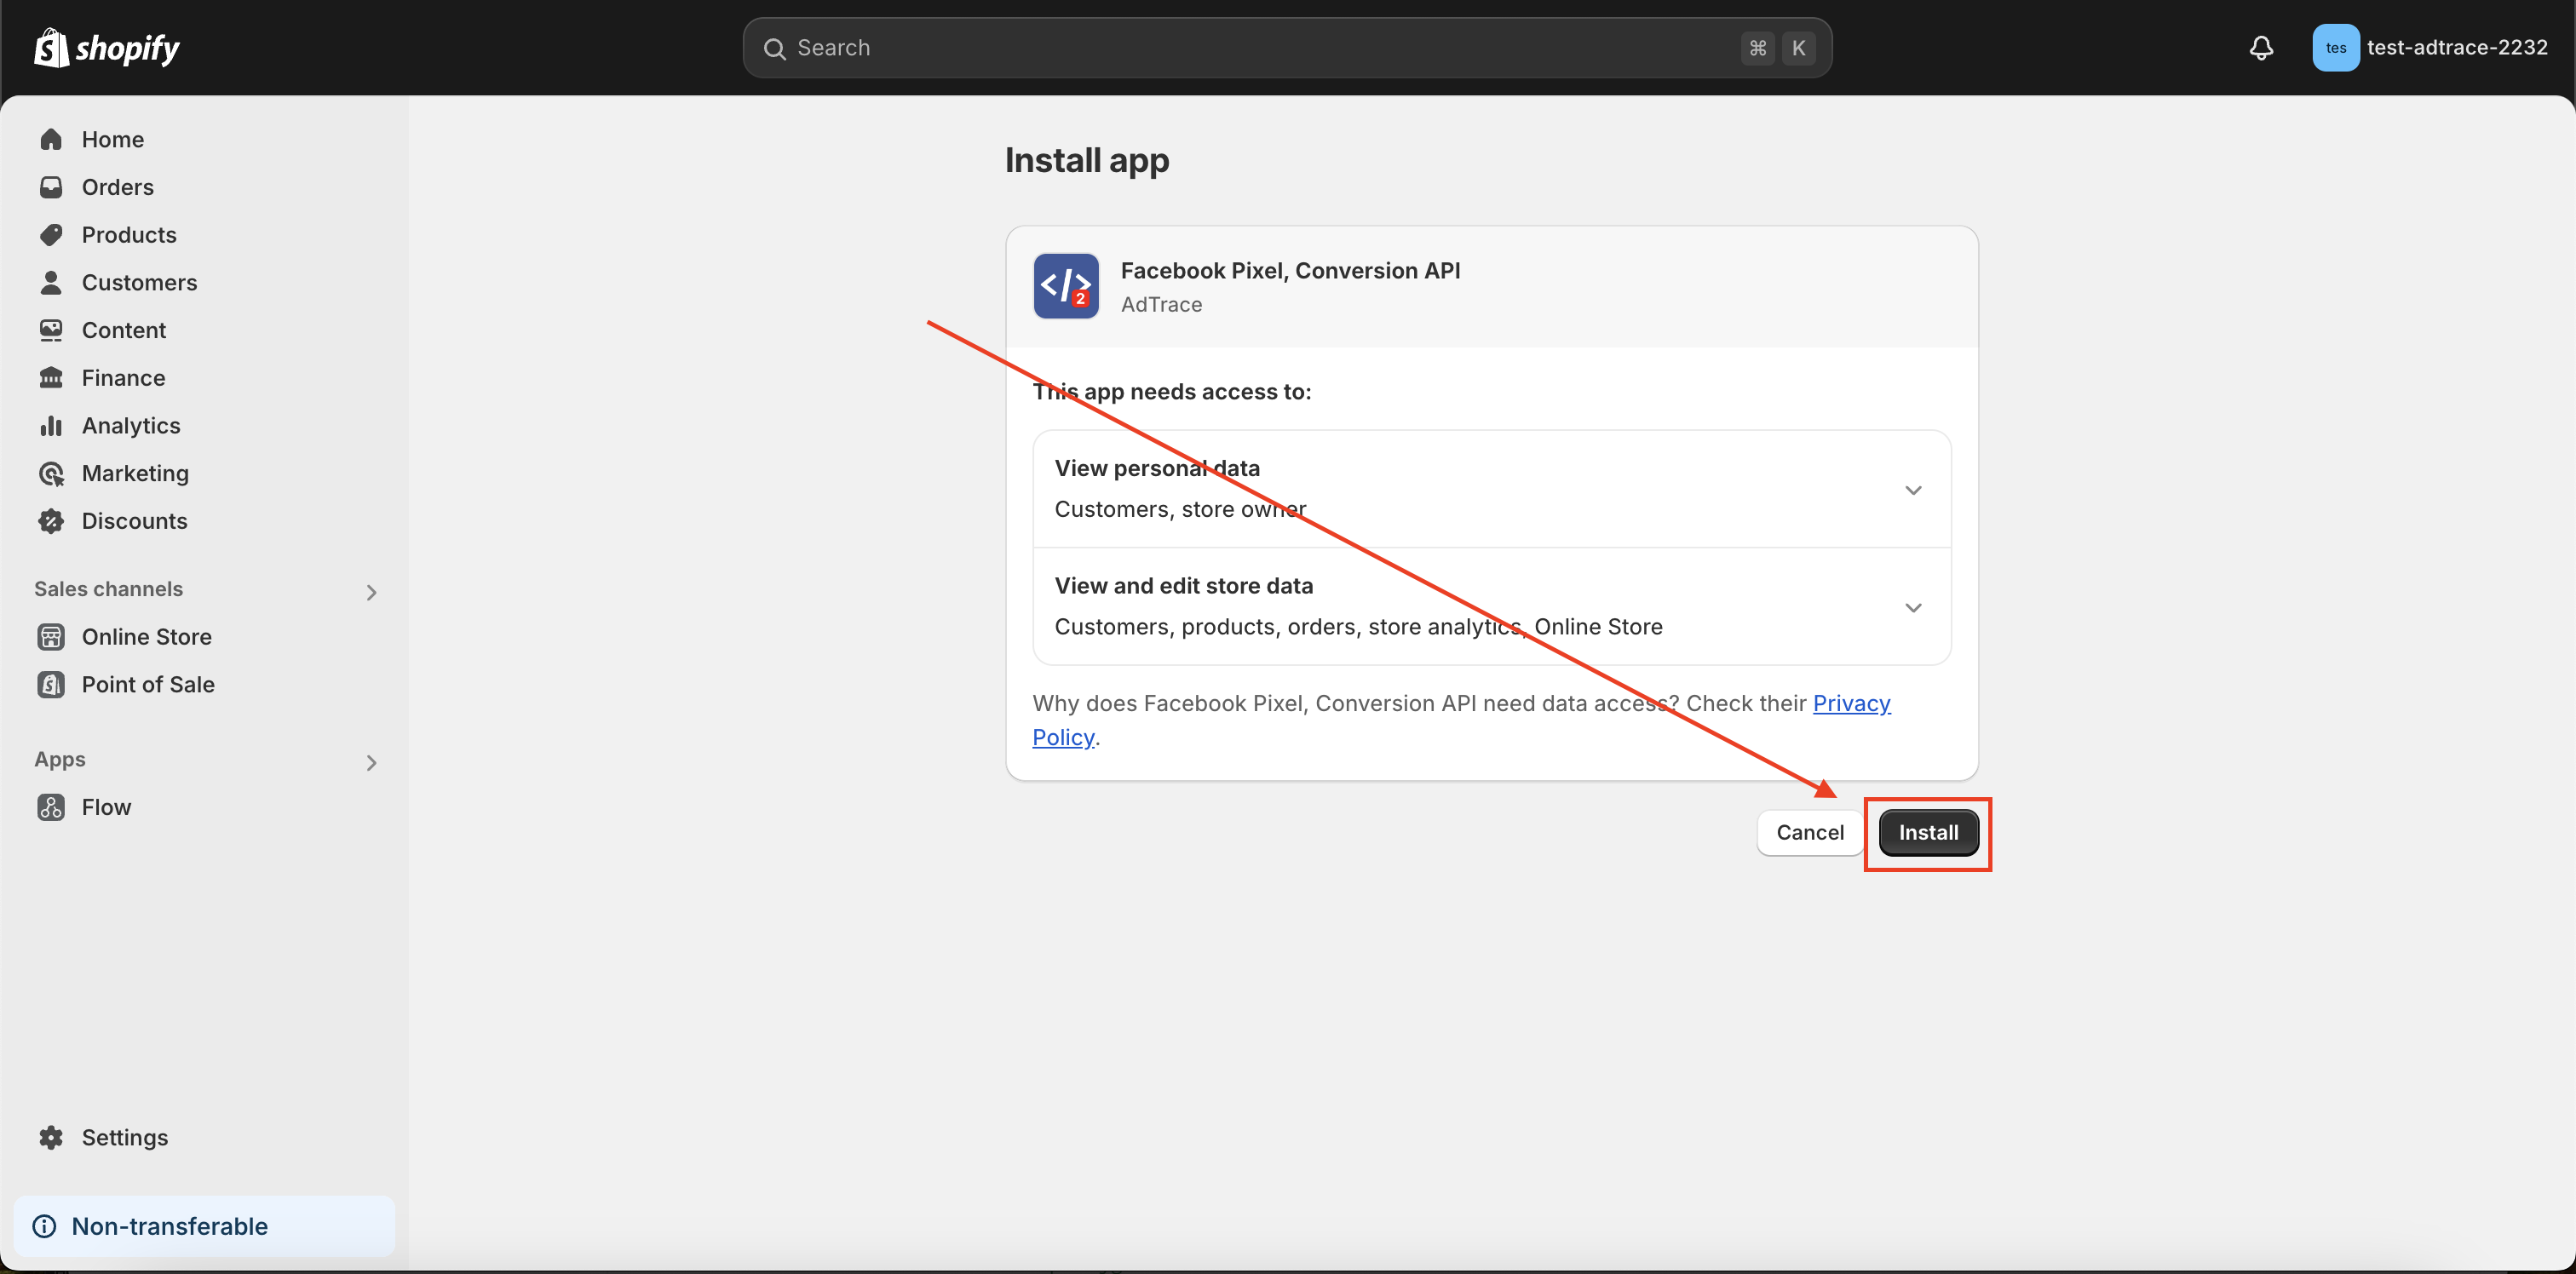
Connect Facebook Pixel to your Shopify store:
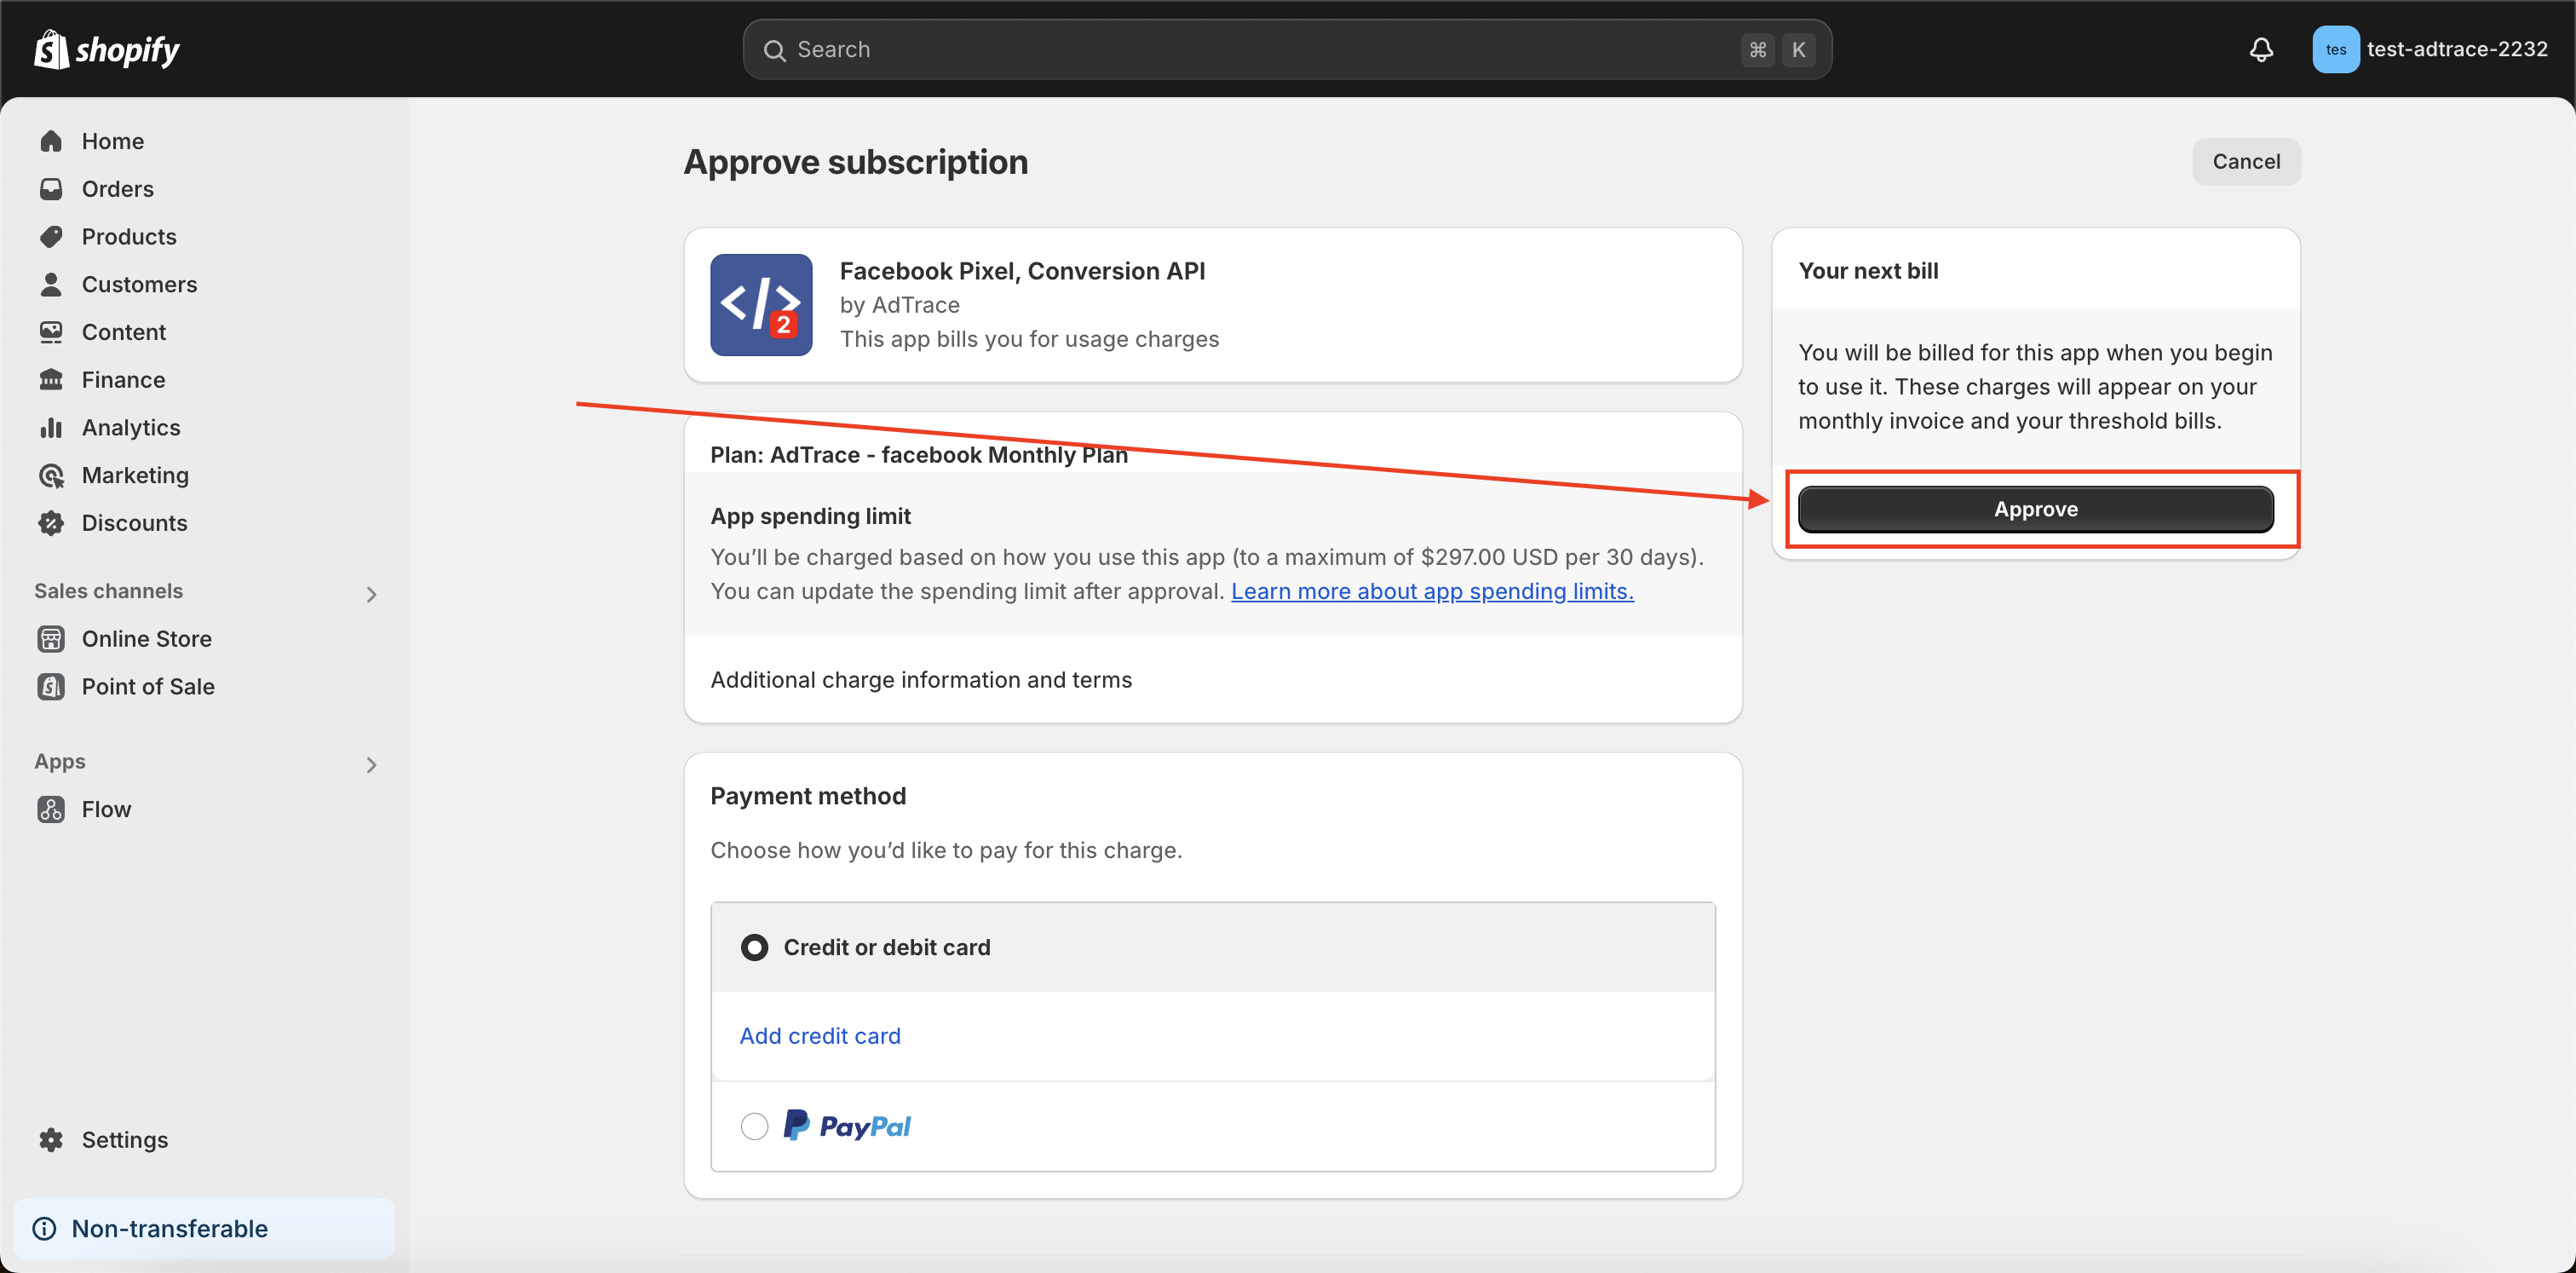
Approve the app billing:
Step Four: Connect Facebook Profile to App
So far you've installed the app to your store. Great work!
But now we need to actually configure it to add the pixel to your Shopify store.
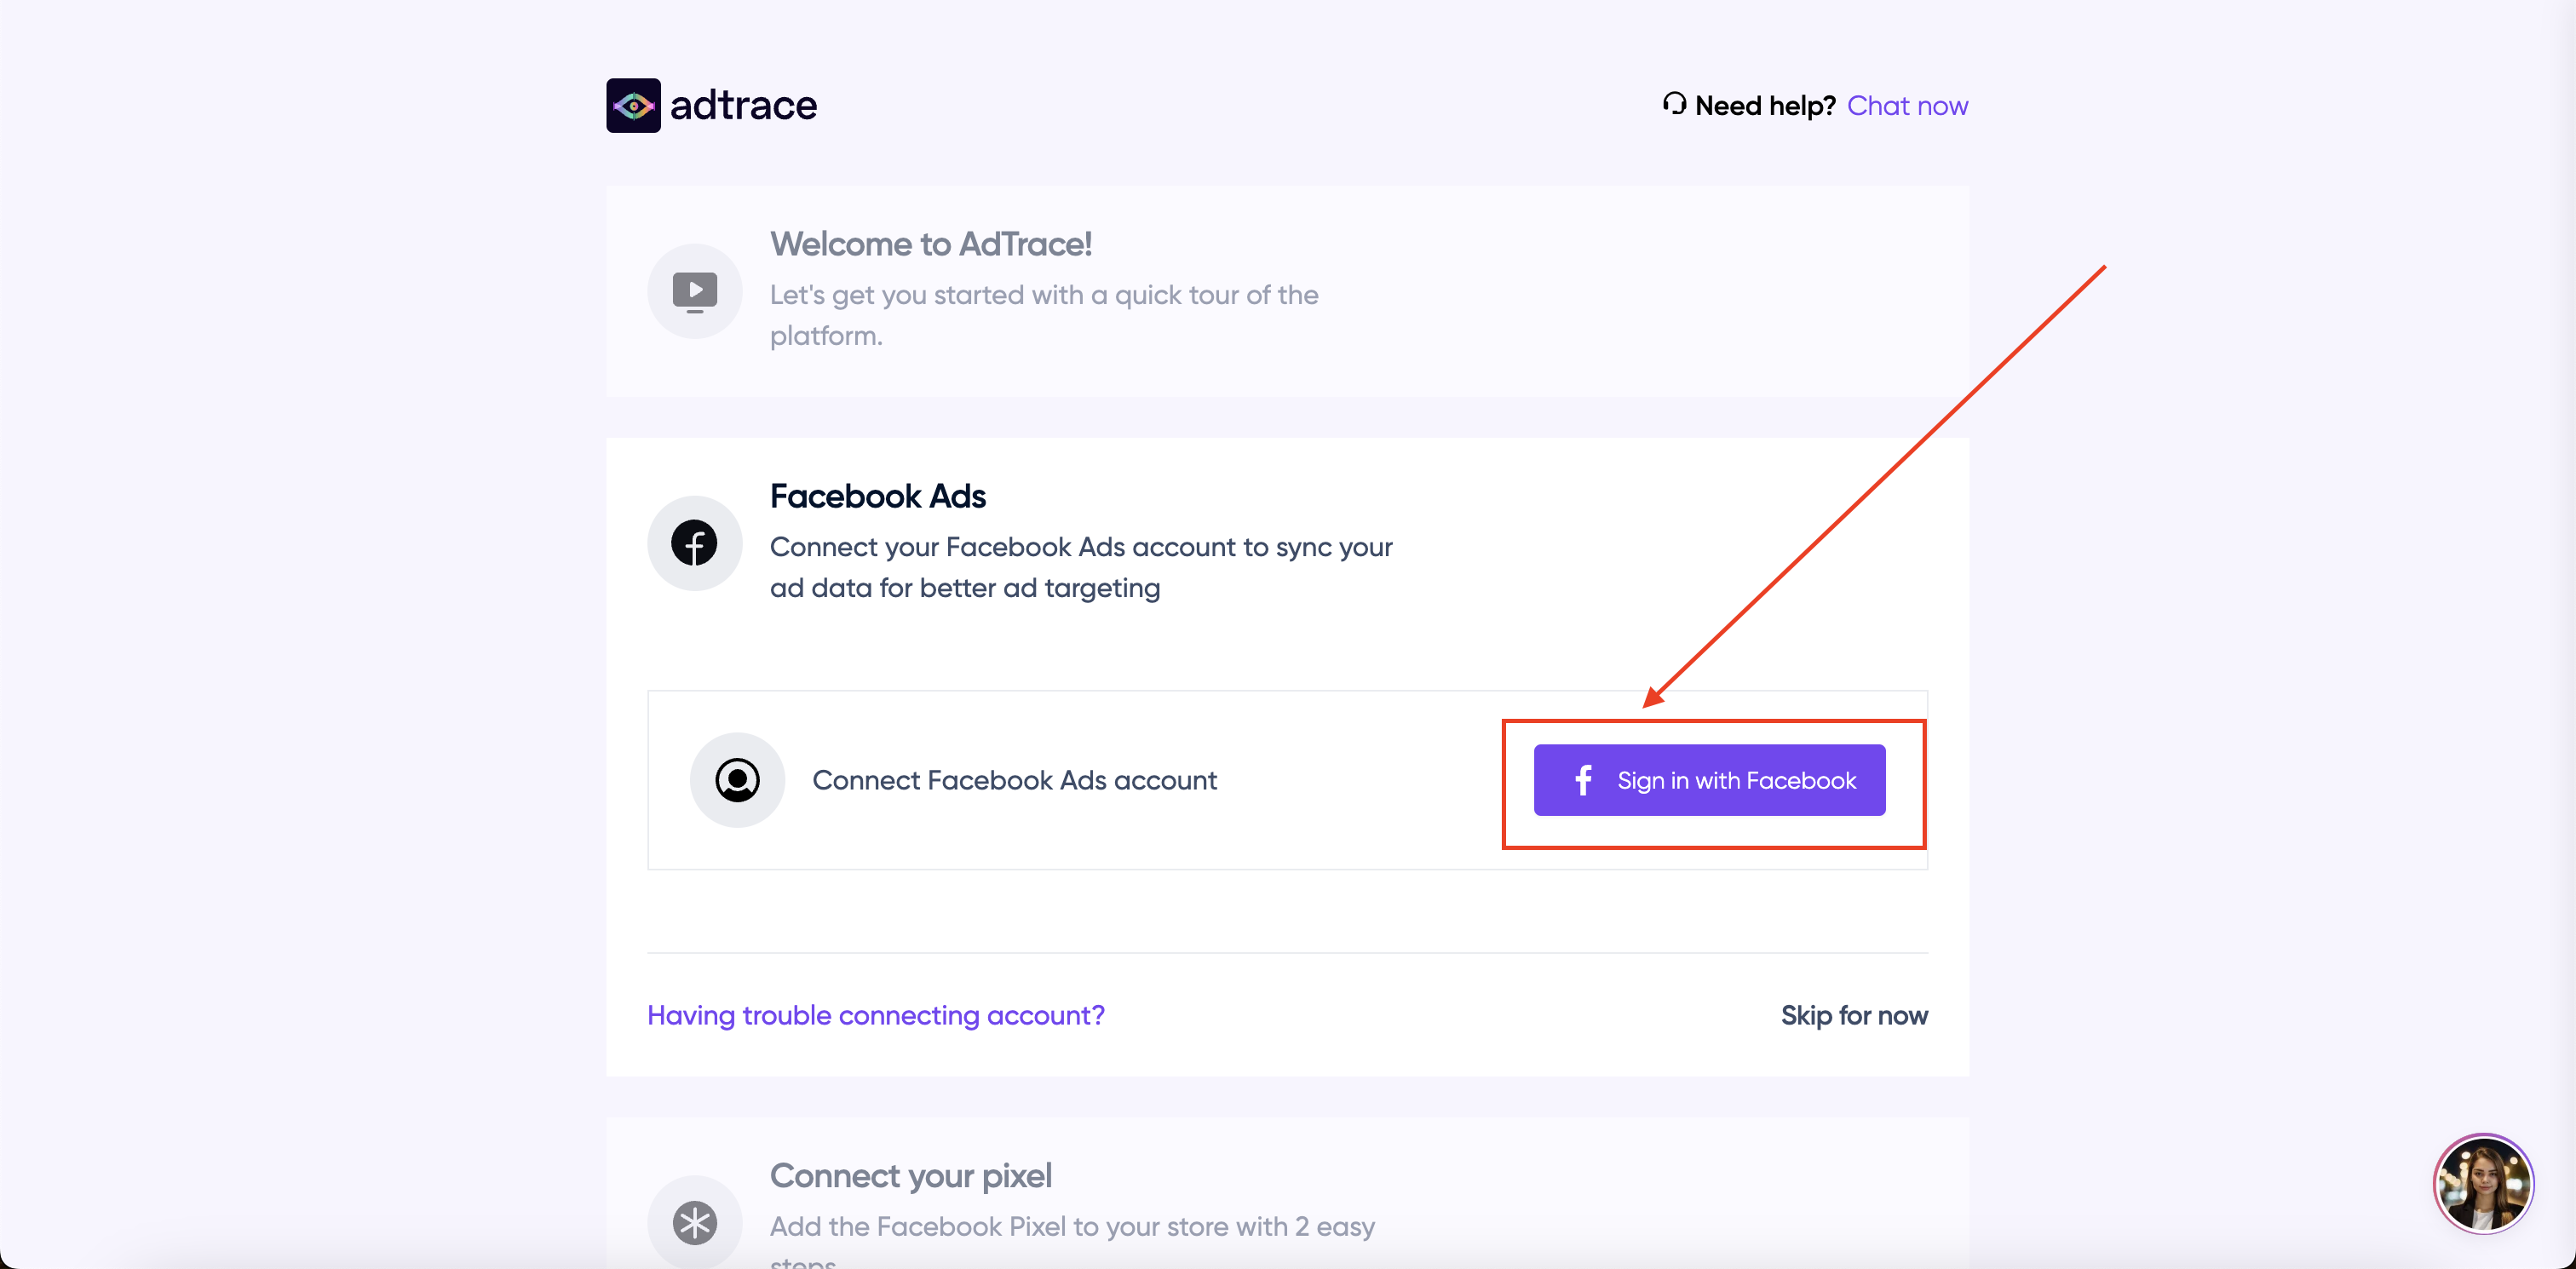
Press "Sign in with Facebook":
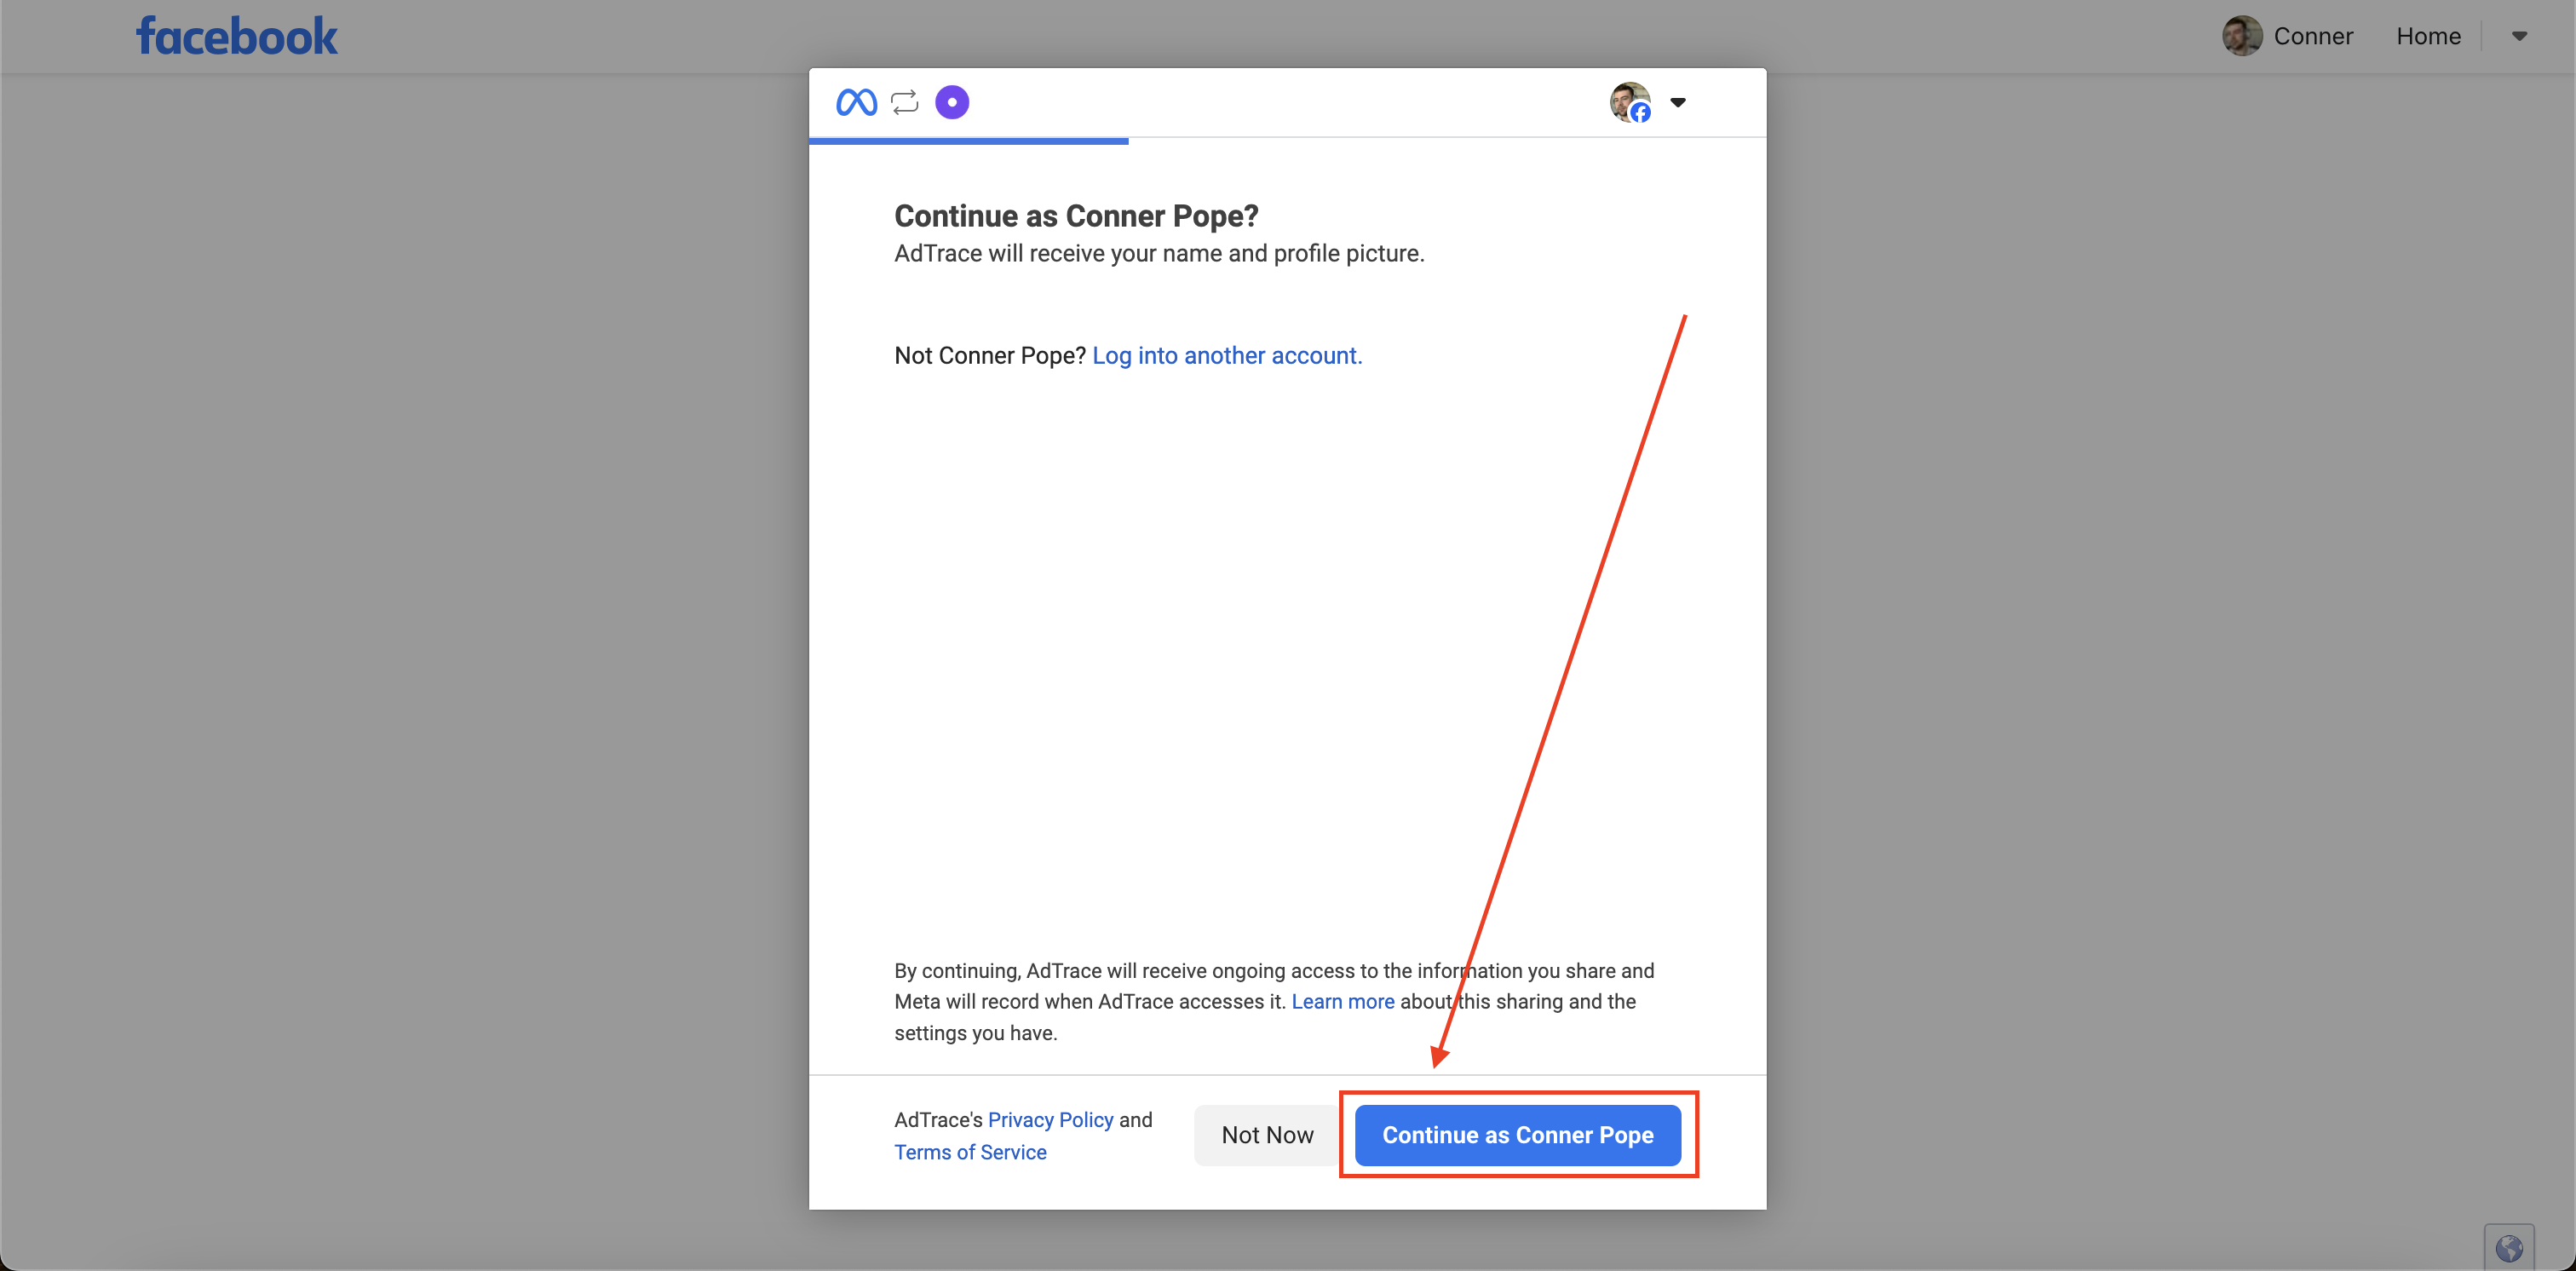
Continue with your Facebook Profile:
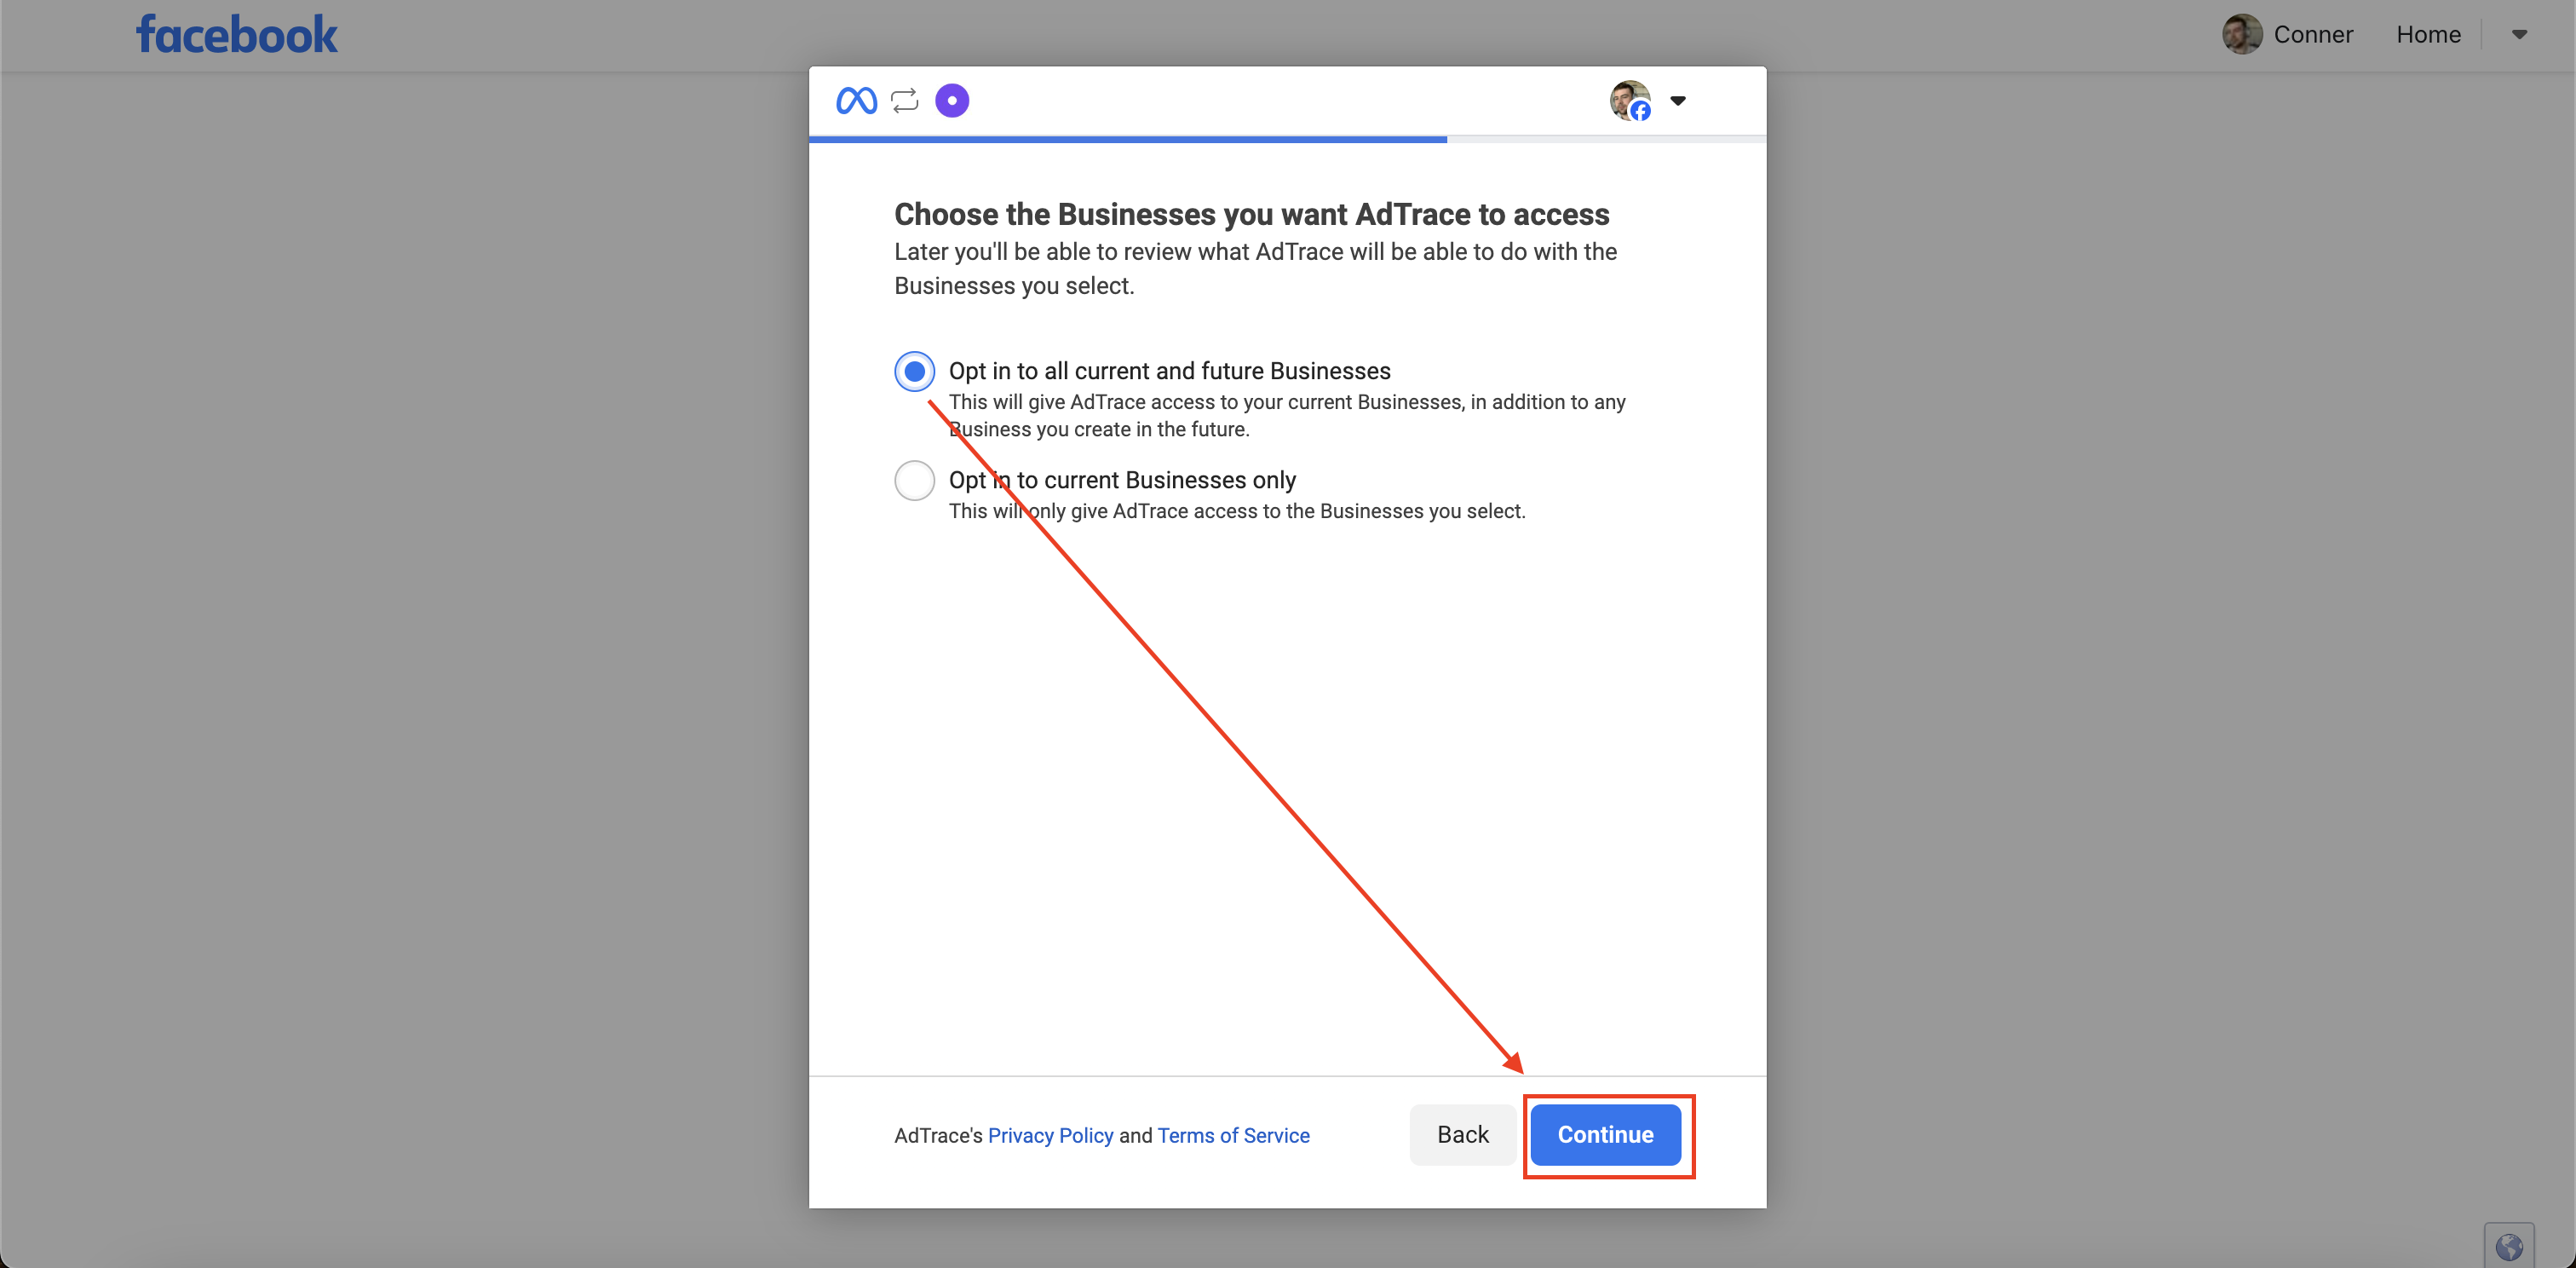
Select "Opt into all current and future businesses" and press "Continue":
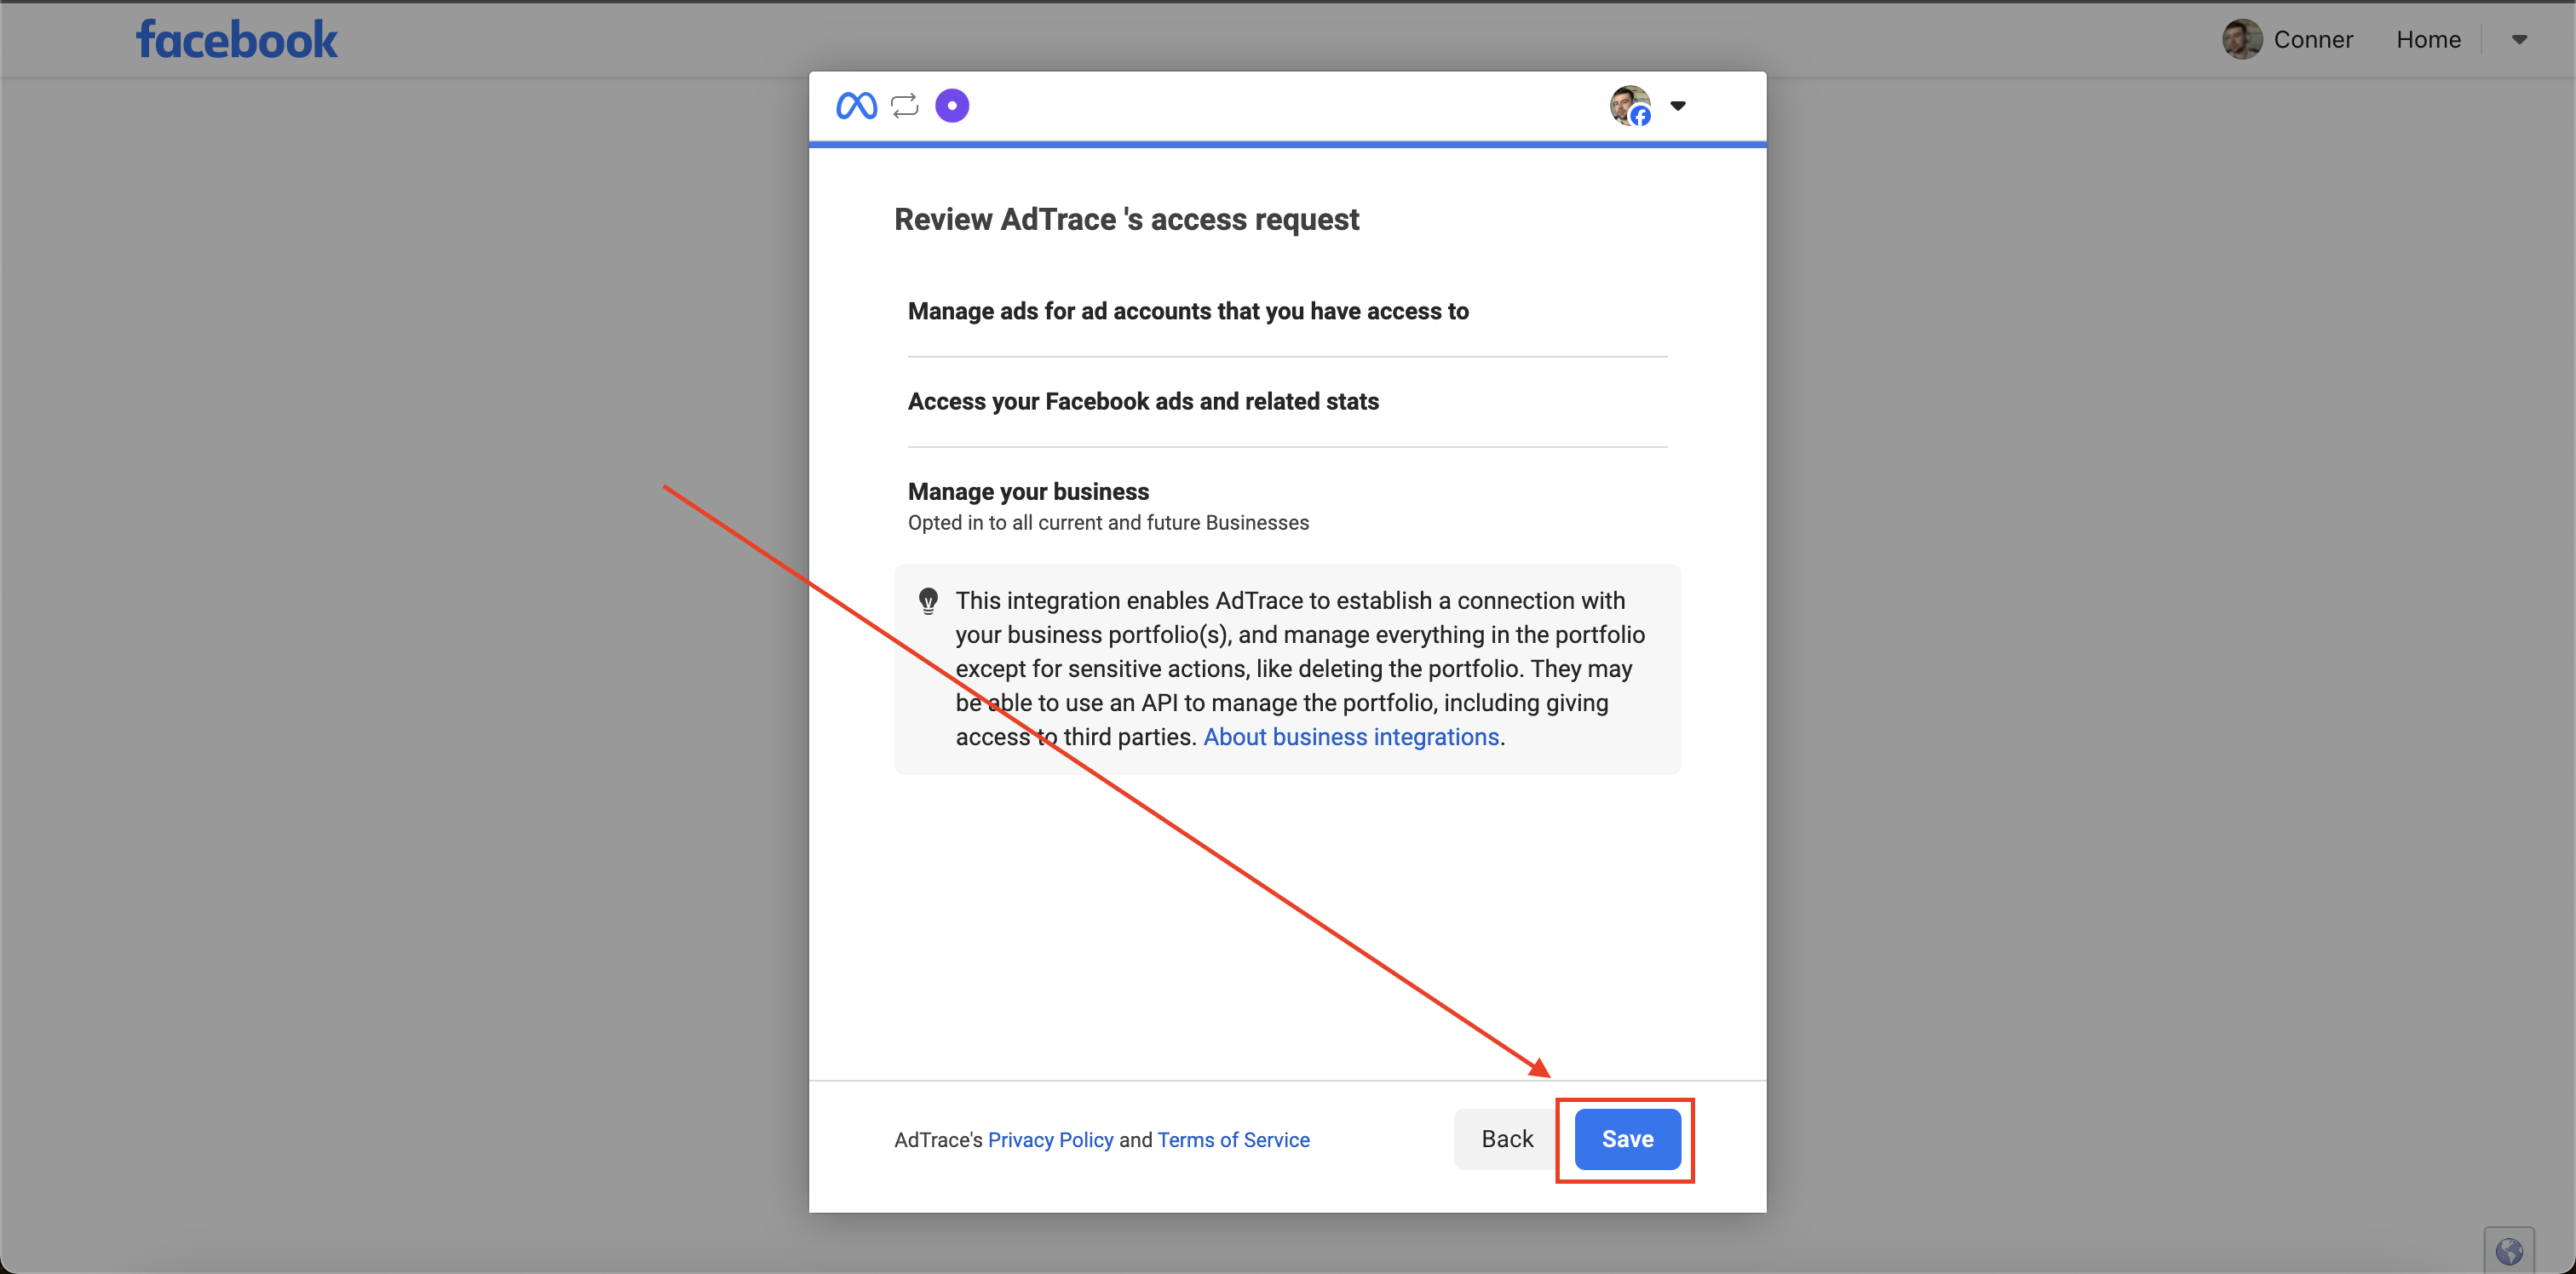
Press "Save":
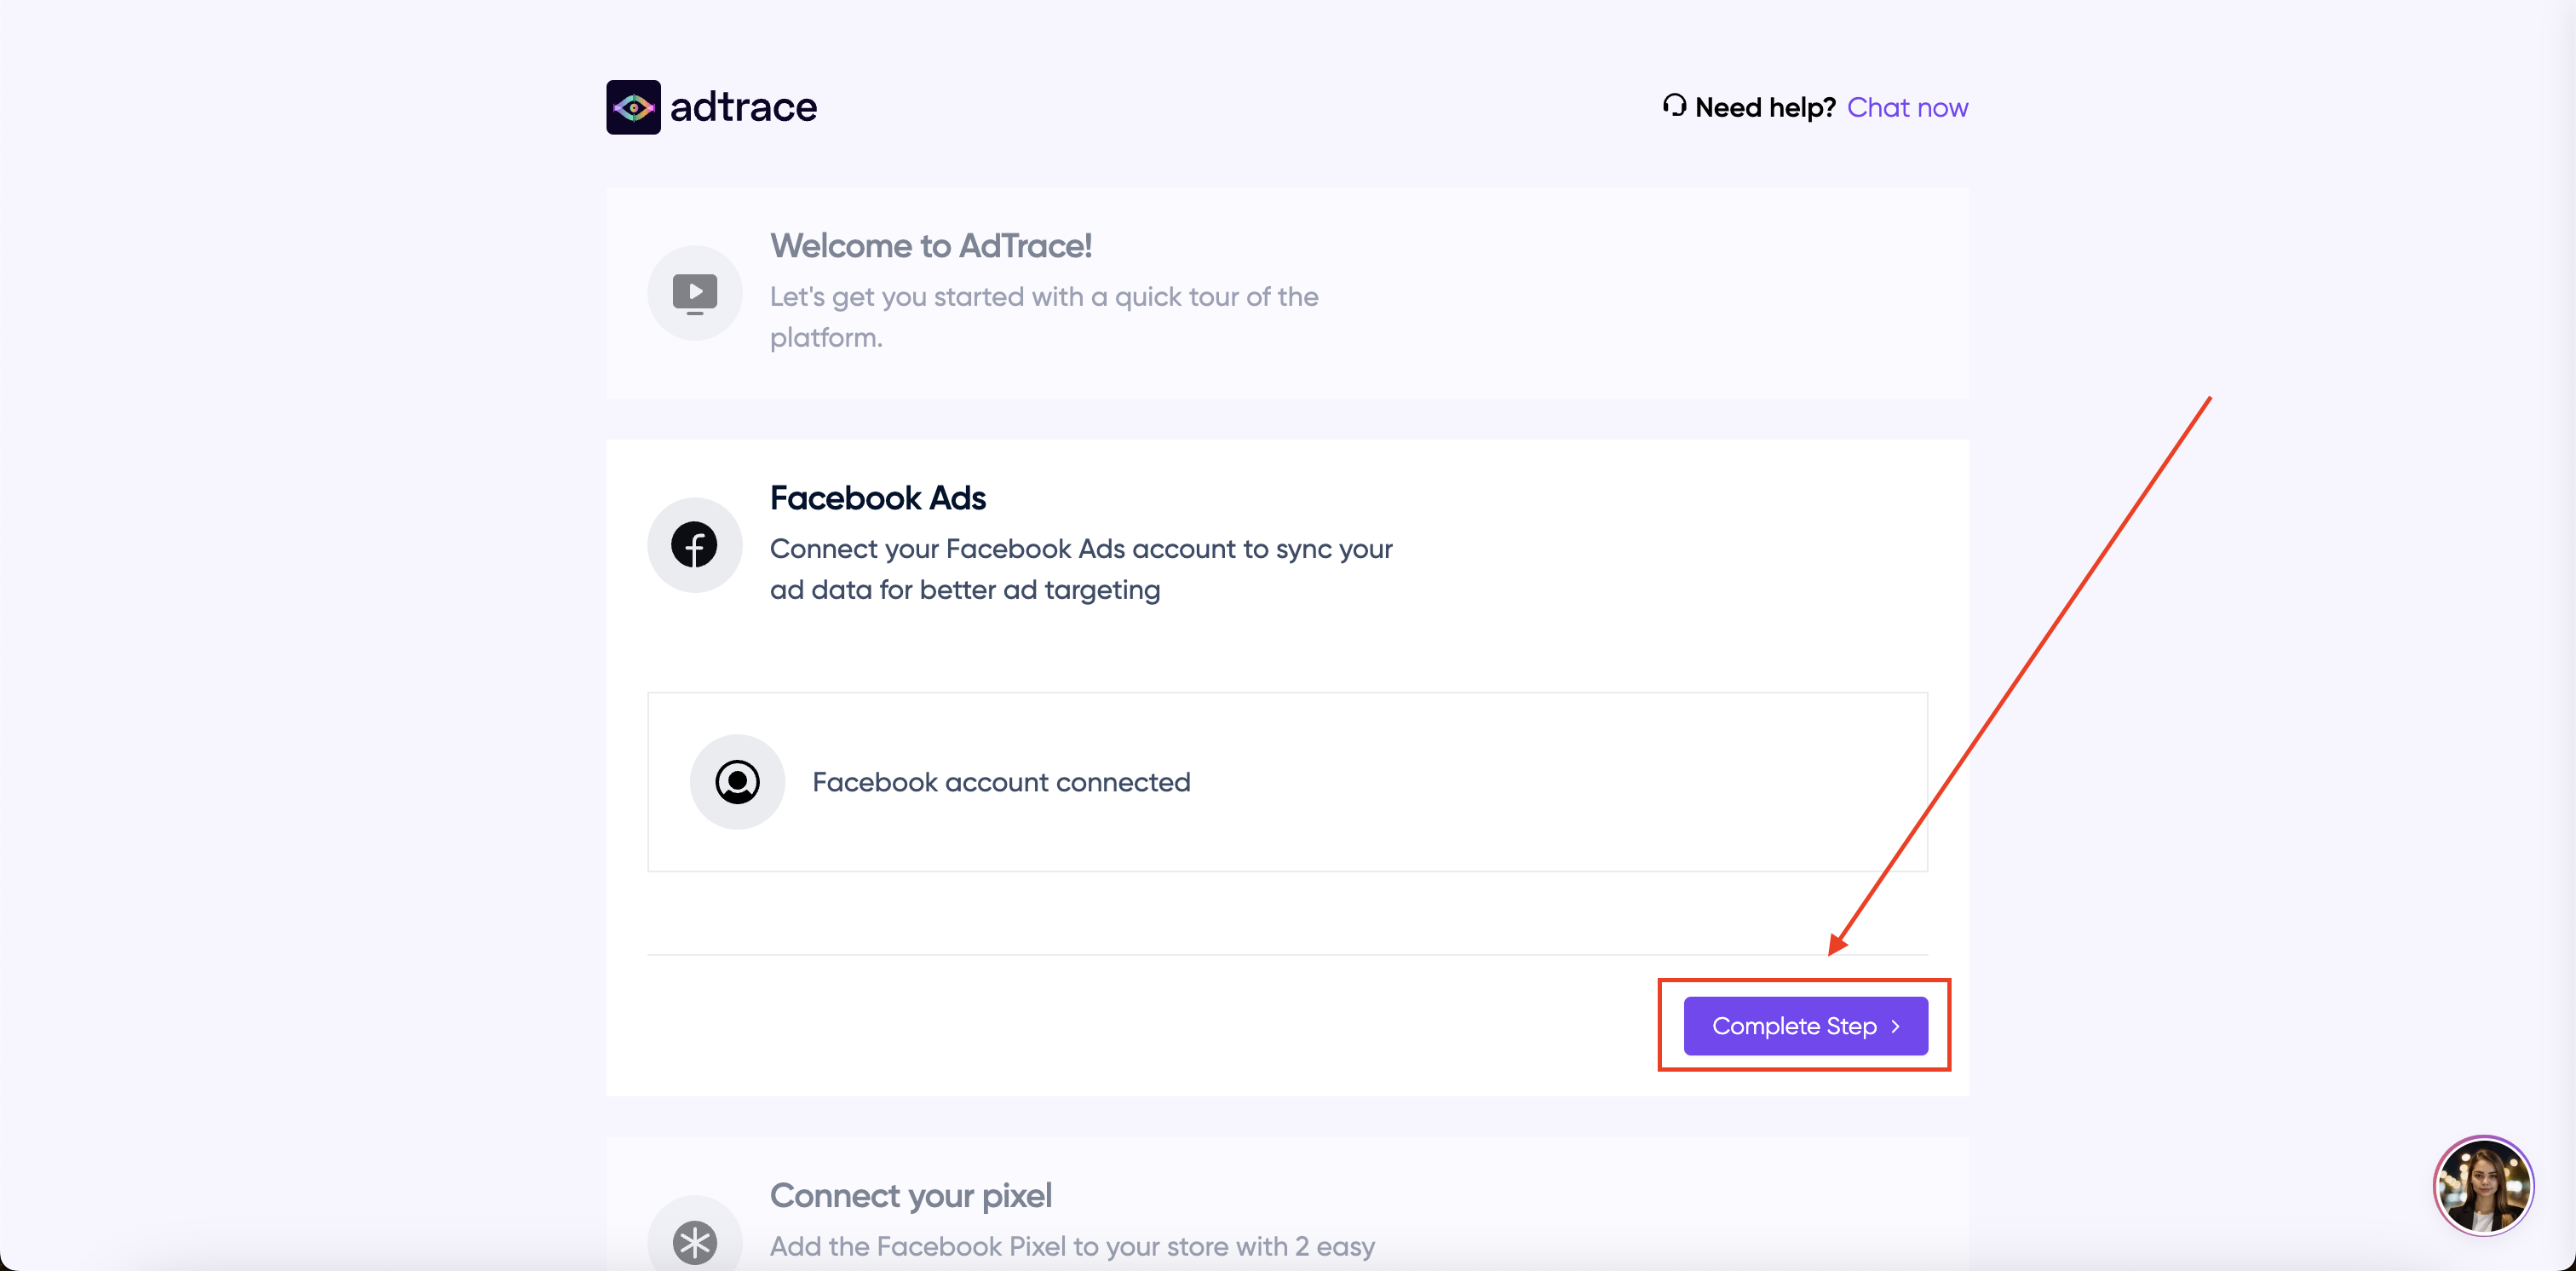
Finally you can go ahead and click "Complete Step"!
